



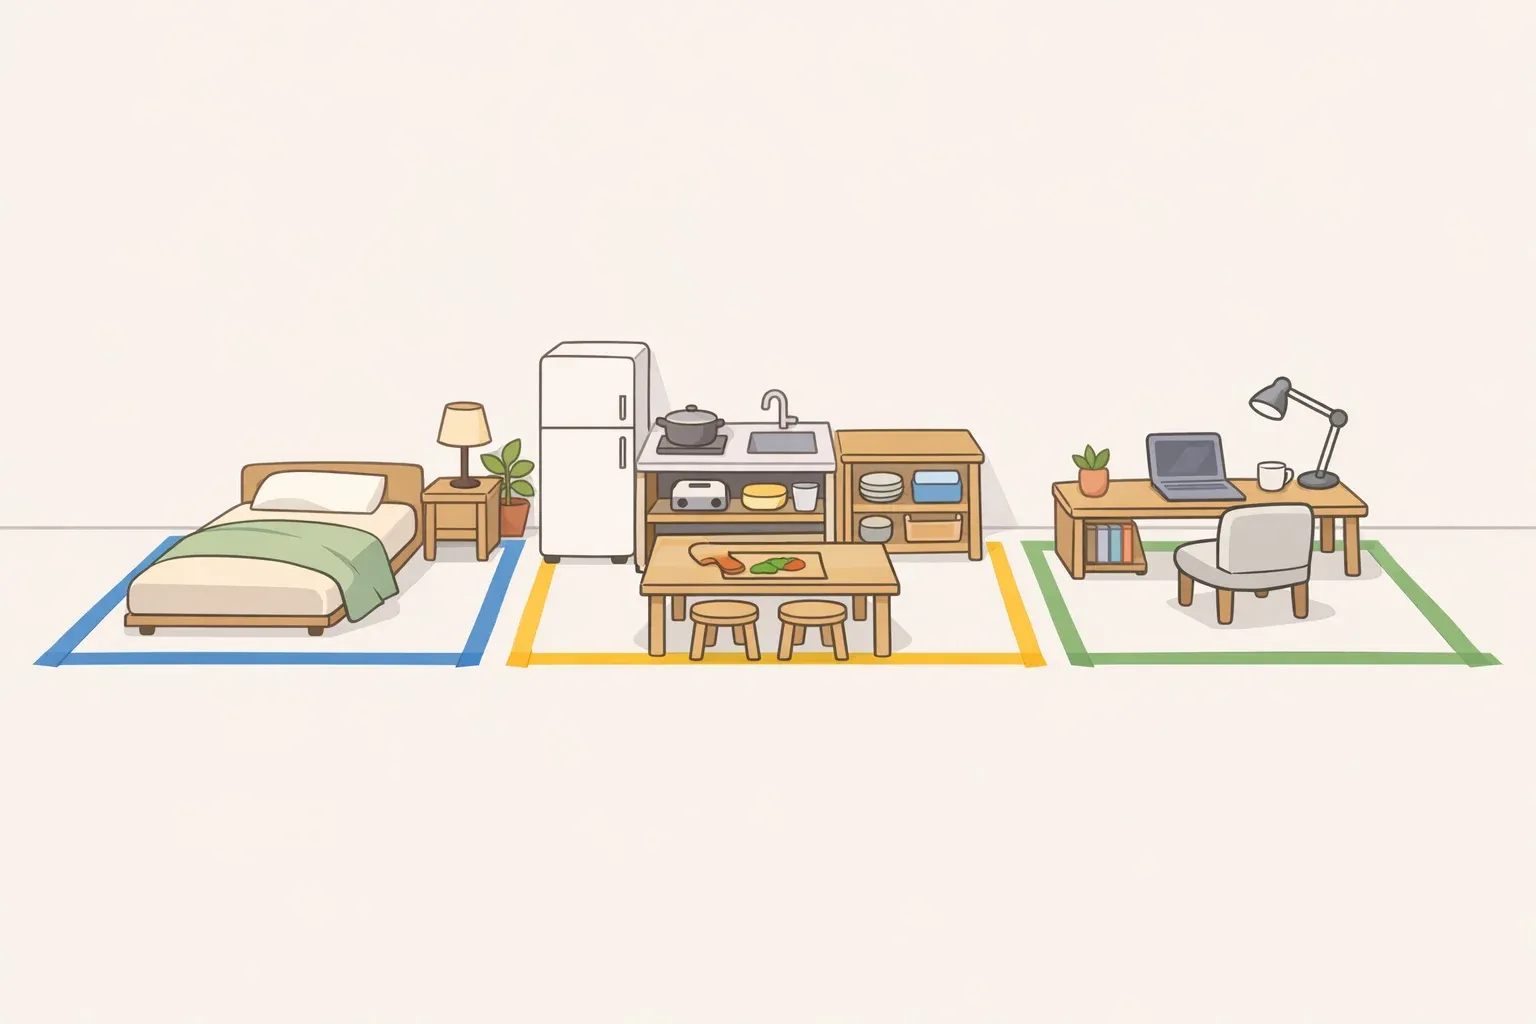
This guide walks through how to create zones in a studio apartment: taping out a layout for sleeping, cooking, working, and living or dining, then pressure-testing it with your actual furniture before you buy or mount anything. It's a measuring and furniture-testing method, not a demolition project. No walls come down, and none go up, in your apartment.
The clearest documented example of this planning approach comes from Paris, though it's worth being upfront about what that project actually involved. Architects Emma Collet and Diettert split a 300-square-foot studio into four connected areas: kitchen, dining/office, living, and sleeping, using low-slung furniture along with a raised platform, a low wall and curtain, and a custom-built closet and cabinet.
As Collet put it, "the aim was to integrate all the functions of daily life into a compact, completely open studio." That logic works because every zone stays visually open to the others: "we wanted all the different spaces to be connected, with all of them open to each other but still having their separate functions," Diettert says.
The renter-friendly version of that same logic swaps built walls and custom cabinetry for tape, movable furniture, curtains, and freestanding storage, the parts of a layout you can actually test this weekend and undo next month.
Not every studio needs four zones, and not every reader has 300 square feet to work with. If you're working with a 230-square-foot studio, or any space where the daily routine only really needs two or three functions, one solid divider, a bookshelf, a curtain, or a low shelf can do more work than a house full of built-ins. This method scales to however many zones your own space and routine actually require.
What you'll need
Gather a tape measure, painter's tape or rope, a rough sketch of your floor plan, and the real dimensions of your furniture, not the numbers from a showroom listing.
This stage is beginner-friendly. You're measuring and taping, not building anything.
Tape the layout, then run it through your normal routine — morning, work, meals, and bedtime — before you buy or mount a single item. There's no fixed timeline here; give it enough days to hit your regular use cases, including trash day, laundry, and any weekly guests. Before you tape anything, confirm your fixed constraints: verify your actual square footage, get a floor plan if one exists, and check whether you have enough wall length for both a bed and a desk.
Don't shop yet. Curtains, bookshelves, mirrors, and mounted hardware only enter the picture once your test identifies a specific, named problem, covered later in "Choosing a boundary."
Before you start: rank your functions
Map your studio's likely functions to four categories: sleep, cook, work, and dine or lounge. Treat storage as an access requirement threaded through those zones, not a fifth room by itself. A closet, shelf unit, or under-bed bin only counts as working storage if you can reach it without moving furniture first.
Sort every function into one of three tiers. Sorting like this is one of the more useful studio apartment layout ideas, because it forces a decision before you start moving furniture, not during it:
Nonnegotiable: used every day, too costly or impractical to share. This is usually sleep.
Preferred: used often, but can share a surface if switching between uses is quick and doesn't require rearranging other furniture.
Occasional: used a few times a week, and the first thing to cut if the layout doesn't work.
If everything doesn't fit, protect sleep and any required work zone first. Test whether living, dining, and hosting can share one surface. Only after that do you decide what storage access actually requires.
Don't assume that leaving space empty makes a studio feel bigger. Architects renovating a 240-square-foot Athens rooftop deliberately packed it into four densely furnished areas rather than leaving it sparse. That project suggests it's the furniture doing the work, not the open floor around it.
On storage specifically, one rental-industry guide's rule of thumb holds that storage taking longer than five seconds to reach stops getting used, though that's a rule of thumb rather than tested research. A more concrete version of that test: can you retrieve and put away an everyday item without moving another piece of furniture first?
How to create zones in a studio apartment: tape and test the layout
Tape the real footprint of each nonnegotiable and preferred function's furniture, including clearance in use, not just its resting size. An open closet door, a pulled-out chair, and a desk chair rolled back all need floor space accounted for.
Run three separate checks, not one blended walkthrough:
Circulation check: Walk from the entry to the kitchen, bathroom, closets, and windows. You should pass without touching furniture, and every door or drawer the plan depends on should open fully.
Daily use/conversion check: Simulate your actual routine and any planned conversion by hand, swapping cushions for sheets or folding down a desk. If a conversion takes more than a minute or requires moving a second piece of furniture, it isn't going to happen on a Tuesday night.
Hosting/storage check: Add your real guest count and confirm seating doesn't block the path to the kitchen or bathroom.
Score each function and route it to one outcome:
Passes as-is, so keep the arrangement.
Circulation fails, so shrink the furniture footprint or relocate the zone.
Two functions compete for one surface, so merge or convert them. In the Paris studio, the owner solved exactly this by getting a closed cabinet so he could "put his computer away… and simply close its door," freeing the dining surface for meals.
Zone functions fine, but privacy, light, noise, or storage access is still a problem, so move to the boundary decision below.
Log the results in a worksheet, one row per zone, with columns for zone, furniture footprint, clearance needed, route blocked, conversion required, remaining problem, and next action. Note whether the remaining problem is visual (someone can see into the zone) or functional (someone can hear it, or can't reach it independently); that distinction is what determines which fix applies next.
Interior designer Armando Aguirre ran into exactly this kind of nonnegotiable-sleep conflict in his 250-square-foot studio, where his queen bed "essentially took up the room." He downsized to a twin and built a three-piece daybed that converts by removing cushions and adding sheets, "the simplest version of a Murphy bed." Paired with the Paris studio's cabinet solution from step 3 above, here's how that worksheet might read for a bed-versus-desk conflict:
Sleep zone
Furniture: Three-piece twin daybed
Clearance needed: Room to lift off cushions
Route blocked? No
Conversion required? Yes; swap cushions for sheets nightly
Remaining problem: None once converted
Next action: Keep as-is
Work/dining zone
Furniture: Shared desk and dining surface
Clearance needed: Room to close the cabinet door fully
Route blocked? No
Conversion required? Yes; close the cabinet to hide the computer
Remaining problem: None once converted
Next action: Keep as-is
Choosing a boundary: match the fix to the remaining problem
Only move to this section for zones that still have a privacy, light, noise, or storage problem after the merge attempt above. If your worksheet shows a passing zone, skip it.
Deciding how to divide a studio apartment into rooms, visually rather than with actual walls, comes down to matching the fix to whatever's left unresolved on your worksheet. If the only issue was two functions sharing one object, a convertible piece may already solve it: the daybed and closing cabinet door in the worked example above close that gap without any divider at all.
Let one structure serve two functions when the problem is spatial rather than object-based. In the Paris studio, this shows up as a raised step to the bed that doubles as a bench in the living room, with a low wall and curtain separating the sleeping area from dining, "a bit like a puzzle or a model where structures reflect functions." A renter can't build a step or a low wall without landlord approval, but the same principle carries over to something like a storage ottoman that also works as seating.
For a purely visual separation you can install yourself, use a curtain or a freestanding bookshelf. Either one blocks sightlines between zones without needing a contractor. Neither provides reliable sound isolation, so check your lease before mounting a curtain rod or anchoring shelving to a wall.
Light and scale matter in low-ceiling studios. Choose low-slung furniture over tall dividers, and consider a mirror opposite a window. The Paris project used both because its roughly eight-foot ceilings made vertical pieces feel overwhelming, and the mirror reflects daylight across the connected zones.
Before you install anything mounted, know what you're signing up for. A wall-mounted fold-down desk rates high for livability and space efficiency in one rental-industry comparison, though that rating comes from a rental guide rather than an independent test.
Get written landlord approval and follow the manufacturer's anchoring instructions before drilling. Wall changes, built-in cabinetry, or anything on the scale of the Paris studio's custom closet and cabinet belong to a renovation, not a furniture test: check your lease and local code, and call a contractor before anything affects a radiator, window, egress route, or electrical work.
Troubleshooting specific conflicts
Some problems don't show up until you're living with the taped layout, not just standing in it.
The bed blocks a closet door. Rotate the bed a quarter turn so the door swings clear, or replace a hinged closet door with a curtain across the opening so nothing needs to swing at all.
A desk chair blocks the path to the kitchen. Swap in an armless chair that tucks fully under the desk, or move the desk to a wall segment outside your main walking path.
A divider makes the window area too dark. Switch a solid curtain for a sheer one, or hang the divider a few inches short of the window frame so daylight spills around the edge instead of stopping at it.
Common mistakes to catch before you buy anything
Taping only the resting footprint of furniture, not the clearance a drawer, chair, or closet door needs when in use.
Testing an empty version of the room instead of walking the layout with your actual bed linens, coats, boxes, and guest seating in place.
Treating a visual fix as if it solves a functional problem. A curtain or bookshelf blocks sightlines, not sound or independent storage access.
Buying or mounting a divider before finishing the worksheet and naming the exact remaining problem it needs to solve.
What success looks like
A layout that passes preserves clear access to the entry, kitchen, bathroom, windows, and closets, supports your actual daily furniture configurations, and handles your intended guest count without anyone dragging furniture out of the way to make room.
Know the limit of this method going in. Curtains, bookshelves, and low walls create visual separation. They don't create a legal bedroom under most local codes, guaranteed privacy, or acoustic isolation, and the zones stay open by design even when they function like separate rooms day to day.
Finish with your worksheet's decision, not a wish list: which functions stayed separate, which now share furniture, which got merged or converted, and the one specific item — a curtain, a bookshelf, a mirror, you're testing next.
Measuring and rearranging furniture is an ordinary-reader task you can complete and reverse in a weekend. Drilling, anchoring, built-ins, wall changes, or anything touching a radiator, window, egress route, or electrical work needs a lease check, manufacturer instructions, and possibly a landlord or contractor sign-off before you proceed. Once a boundary is physically in place, the curtain is hung, the divider is positioned, and the furniture is converted, retest the whole layout before you buy anything else.




















Comments
Be the first, drop a comment!