



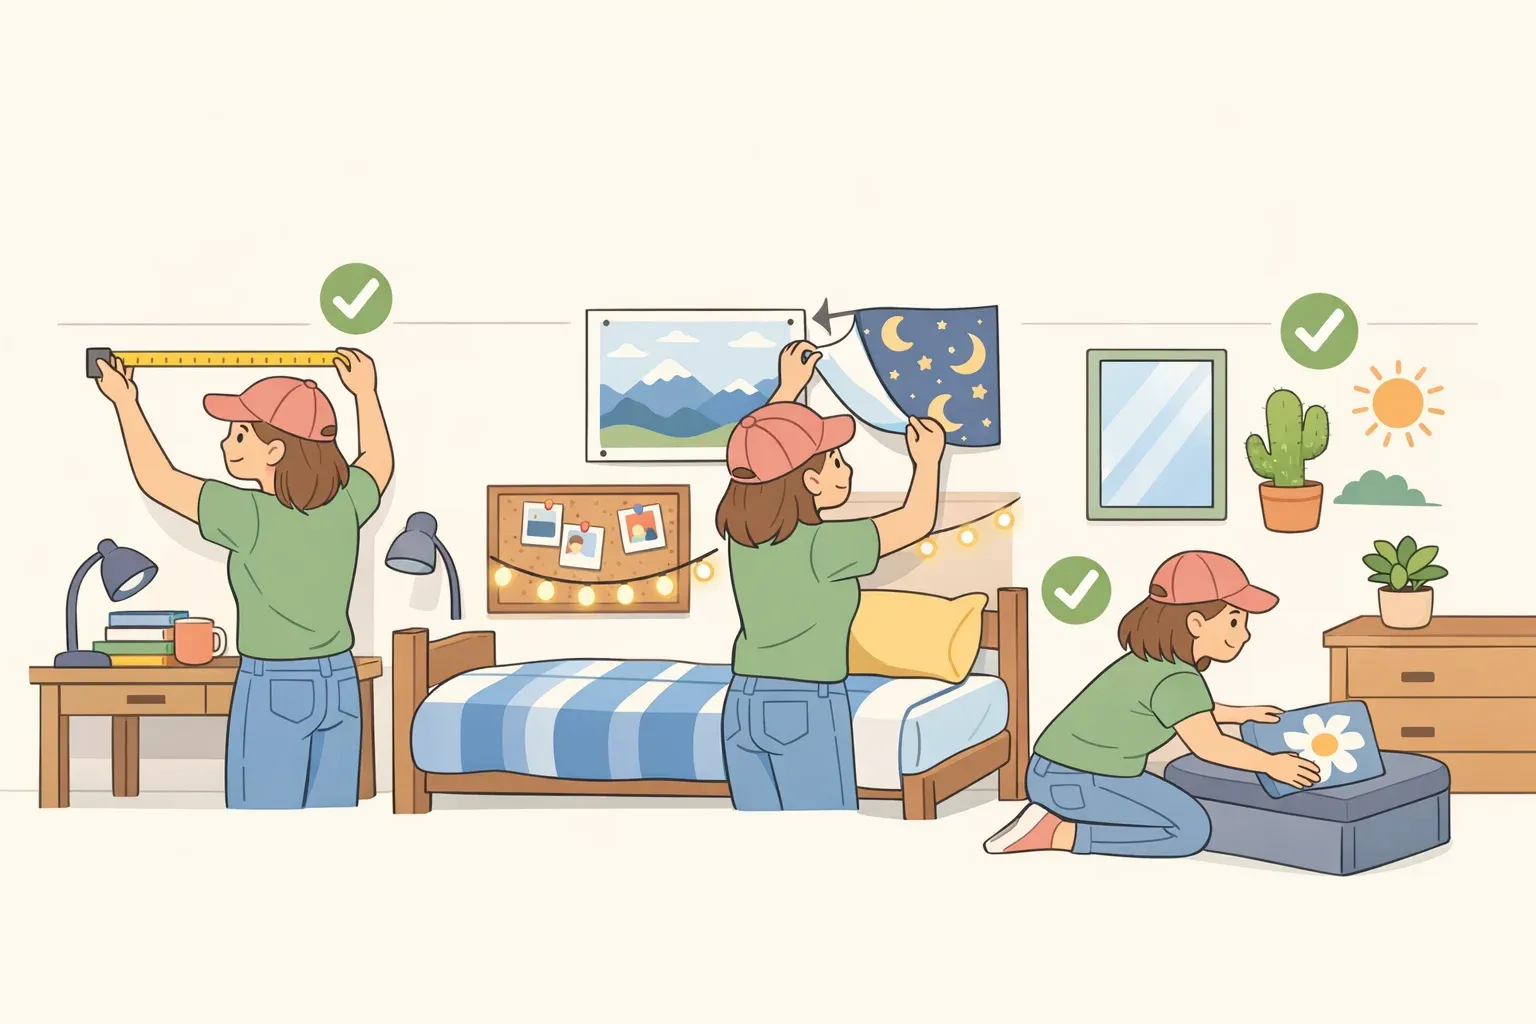
A standard dorm room ships with a bed, a desk, a chair, and a dresser, in a space Wirecutter describes as dated and cramped. Campus housing offices know that gap exists, which is why they frame that same room as a student's home for the year and encourage decorating it to reflect personal style. This guide walks through cozy college dorm room decor ideas built around what your specific hall actually allows, not generic tips that assume every building has the same rules.
The method here is what's best described as reversible layers: freestanding or hall-approved additions like bedding, a rug, limited wall decor, and personal items. That's not a claim that any specific product is damage-free. What counts as approved differs by building, so the process below starts with a policy check, not a shopping list. Check your hall's rules and document the room, measure and mark what's actually allowed on your walls, test your layout before buying anything, then install floor-to-wall in that order.
Be honest about what this accomplishes. It helps a room feel personal and lowers avoidable risk, but it doesn't guarantee a full deposit back. Local policy, pre-existing damage, and how one product performs on one specific wall are outside any guide's control.
What you'll need
Gather these before you touch a shopping cart:
A copy of your hall's written decoration and fire-safety policy, usually posted on your housing website
A tape measure
A roll of painter's tape
Your phone or a camera to document the room
Your Room Condition Report or move-in checklist
A few minutes with your roommate to talk through shared items and zones
Product instructions for any adhesive strips, hooks, or lighting, once you've confirmed they're allowed
This is a beginner-friendly project. No power tools required, unless your hall permits nails or tacks, in which case a small hammer is the only extra tool you need. Plan on a few hours for the physical setup once your policy questions are settled, and handle that policy step first. Decorating before you know your hall's rules is the single most common way this project goes sideways.
Cozy dorm room ideas that fit your hall's rules
Pull up your specific hall's decoration and fire-safety policy before you buy anything. Rules vary more than most students expect. Colorado State, as one documented example, caps decorations at 20% of any individual wall, door, or corridor surface, permits only UL-approved lighting with a maximum of three connected strands, and bans candles, incense, live trees or garlands, flammable reed diffusers, and potpourri hot plates. Treat that as one campus's example, not a universal standard. Get your own hall's numbers before you plan around someone else's.
Confirm your building's approved wall-hanging method next. Some halls, including Arizona's Honors Village, encourage thumbtacks or small nails over adhesive strips because they're less likely to damage paint.
Other halls may take the opposite approach and allow only adhesive products, so confirm your own building's rule before buying hooks or tape either way. Don't assume "damage-free" packaging protects you regardless of which method you choose. Products marketed as removable can still leave marks that trigger a checkout charge.
Photograph and log existing damage the moment you move in. Arizona requires a Room Condition Report within the first 14 days, specifically so students aren't billed for damage that predates them. Skip this step and any pre-existing scuff becomes your problem at checkout.
Talk to your roommate before buying anything shared. Housing policy generally holds that personal belongings shouldn't encroach on a roommate's space and discourages adding furniture without approval. Agree on shared items, like a rug, lighting, or storage, and each person's zone before either of you starts decorating.
Confirm each of these against your written policy, not against a friend's dorm setup:
Open flame or scent items, such as candles, incense, or reed diffusers
Greenery type: live, artificial, or banned outright as combustible
Wall coverage limit
Lighting and connected-strand limits
Power-strip and daisy-chaining rules
Furniture additions or removals
If your policy doesn't address something you want to add, ask your housing office directly rather than guessing. The most common mistake at this stage is buying decor before confirming your specific building's rules. What's approved in one hall can be banned in the next one over.
Measure the room and decide your modular plan
Good college dorm room decorating ideas start with measurements, not aesthetics. That means usable floor space, the swing radius of the door and closet, outlet and power-strip locations, and, using the coverage limit you found in the last step, the actual square footage your wall decor is allowed to cover. If your hall uses a 20%-per-wall style limit, measure that specific wall and set a display size cap before buying frames or a tapestry.
Test your layout with painter's tape before you commit money to any of it. Mark the rug's footprint and each zone's boundary on the floor, then open the closet, pull out a drawer, and walk the path to the door. Rug size follows that taped outline, not the room's overall dimensions: measure the space inside your clearances for the door swing, closet, and drawers before choosing a size, and round down if you're between two.
Build the plan to flex around whatever your policy allows, not around a fixed list:
If rugs are restricted or banned, skip the rug and lean on bedding, a throw, and labeled storage bins for texture and order.
If wall decor is restricted or banned, move personal display to the dresser or desktop instead of the wall.
If added lighting is restricted or banned, skip it. Don't substitute a workaround device your policy doesn't cover.
A simple starting setup looks like this: one washable rug or floor layer where permitted, one bed textile such as a throw or extra-long bed skirt, one small personal-item cluster, and one hall-approved lighting improvement if allowed. Build from that list; don't start from a longer one.
An extra-long bed skirt earns a spot on that short list because it conceals under-bed storage without adding furniture. Buy the drop length based on your own frame's height, measured from the floor to the bottom of the frame, not the mattress top, since dorm risers vary by building. And resist the urge to fill every surface. Housing guidance specifically recommends preserving some white space so a small room doesn't feel crowded.
Install your layers in order
These DIY dorm room decor ideas only work in the sequence below, since hanging wall decor before your bed layers usually means redoing measurements later.
Place your rug first, skipping this step if rugs aren't permitted. Position it clear of the door swing, closet access, and any window or vent. If it blocks a drawer or the door, reposition it or size down. Don't trim it to fit.
Layer your bed: sheets, a throw blanket, and a bed skirt if you're concealing storage bins underneath. Slide the bins in and out once before calling this step done. If the skirt drags or bunches, it's the wrong length for your frame and needs a swap now, not after everything else is installed.
Set up your desk zone separately from the cozy layers. Clear the surface and add a lamp bright enough to read comfortably without squinting. That's a practical comfort check, not a spec to chase. Keep warmer or dimmer lighting confined to a separate wind-down spot, away from where you actually do coursework.
Add ambient lighting only to that wind-down zone, and only if your hall permits added lighting at all. Confirm your product meets your hall's UL-approval and connected-strand limits before you plug anything in, and turn it off when you're not in the room. Power-strip and daisy-chaining rules vary by building, so check your own hall's policy or the manufacturer's instructions for that detail specifically before you plug anything in.
Hang wall decor last, using the display size cap you set in the previous section. Good options inside that cap include tapestries, framed prints, string lights if permitted, or something more personal. Even a hat collection can work as wall decor. If your hall allows plants and you want greenery without the upkeep, an adhesive wall shelf can hold a few artificial or low-maintenance plants. Use only your hall's approved hanging method, and don't switch to nails or adhesive strips just because a friend's building allows them.
Add your personal-item cluster last, on the wall if space remains under your cap, or on the dresser or desk if wall decor is restricted. Keep it to a handful of pieces, photos, small frames, or a hat display, and measure the cluster's footprint the same way you measured the wall earlier. Stop adding once you hit the cap, not once you run out of items. Visible open wall space is a sign you've kept the room from feeling crowded, not a sign you're unfinished.
Walk the finished room and check each item specifically: drawers and closet doors open fully, the rug has no edge someone could trip on, cords run along baseboards rather than across walkways, vents and windows sit unobstructed, no wall exceeds your coverage cap, lighting meets your hall's UL and strand rules, power strips follow your hall's plug-in rules, and nothing crosses into your roommate's agreed zone.
When something goes wrong: troubleshooting and stop points
If paint lifts while you're removing adhesive, stop pulling immediately. Follow the product's own removal instructions, photograph the damage, and contact your housing office. Even products marketed as damage-free can still result in a checkout charge, so don't assume a small mark will go unnoticed.
If a fixture, hook, or shelf comes loose after installation, take it down and don't re-hang it in the same spot. Check whether the wall shows damage before deciding on a replacement method.
If you discover a rule violation after setup, an oversized display, an unapproved light, or an item on a banned list, remove or correct the item first. Document the room's condition with photos, then confirm the fix with your housing office rather than trying to conceal it.
Furniture questions are a hard stop, not a DIY workaround. Don't add or remove furniture on your own. Existing furniture generally can't be removed without an approved accommodation request through the disability resource center, and housing offices generally discourage bringing in extra furniture in the first place.
If a roommate disagreement comes up over a shared item, revisit the zone agreement made at the start of the project before buying a replacement or a second version of the same thing.
Finishing up
Once your room passes the walkthrough in step seven, shift from setup to upkeep. Photograph the finished room and compare it against your original Room Condition Report so you have a clear record of what changed and when. Keep the packaging or instructions for any adhesive hooks, strips, or lighting you installed; you'll want the manufacturer's own removal steps at move-out, not just your memory of how you put them up.
Treat later additions the same way you treated the first round. Before adding seasonal decor, swapping in new string lights, or bringing in another textile, recheck the policy you pulled at the start of this project. Rules on lighting and wall coverage don't change because the calendar does, and a policy that allowed something in the fall isn't guaranteed to still apply if your hall updates its guidelines later in the year.
A simple starting setup, bedding, one textile or floor layer where permitted, a working desk lamp, and a small personal-item cluster — covers what housing guidance points to as the accessible way to turn an impersonal room into a livable one. Build toward a cozy small dorm room setup by adding pieces in small rounds over the semester rather than all at once, and plan to remove each one the way you'd take it down at checkout.




















Comments
Be the first, drop a comment!