



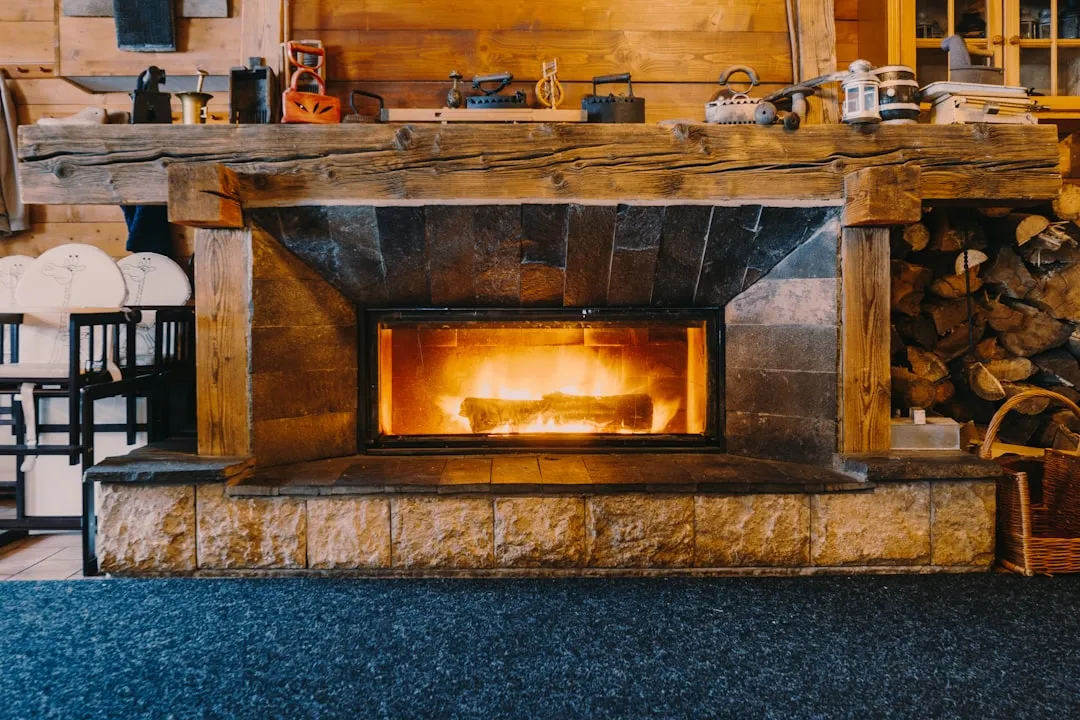
Build a Faux Fireplace That Transforms Any Wall: DIY Magic in One Weekend
Difficulty: Moderate
Time: 2-3 hours (plus drying time)
Cost: ~$700
Why You'll Like This
Got a blank wall staring back at you? You're not alone—many homes open directly into living areas without a natural focal point, leaving that awkward expanse of drywall screaming for personality.
Here's your solution: building a faux fireplace creates an impressive centerpiece that guests will assume costs thousands. A well-designed fireplace serves as a visual anchor, giving your room that pulled-together feel interior designers charge big money to create. Best part? Most DIY fireplace projects cost between $600 and $900 for basic versions, making this totally achievable for most budgets.
What You'll Need
Materials
2×4 lumber (8-10 pieces, 8 ft long)
Electric fireplace insert ($100-300)
¾" plywood or MDF (2 sheets)
¼" cement board or drywall
Peel-and-stick tiles or stone veneer
Wood screws (2½" and 1¼")
Construction adhesive
Joint compound and tape (if using drywall)
Primer and paint
Tools
Circular saw, or miter saw
Drill/driver with bits
Level (4 ft recommended)
Stud finder
Measuring tape
Safety glasses and a dust mask
Safety First
Power off at breaker when running electrical for hardwired inserts; verify with non-contact voltage tester
Adult supervision required when using power tools
Wear safety glasses and dust mask when cutting lumber
Check manufacturer's clearance requirements for your specific insert
Ensure adequate ventilation when using adhesives
Planning Your Design
Step 1: Measure your wall space and ceiling height carefully.
Tip: Use cardboard pieces taped to the wall to test different proportions before cutting lumber. This twenty-minute exercise prevents costly rebuilds later.
Step 2: Buy your electric insert first—this determines everything else.
Standard inserts range from 26" to 50" wide, and here's the critical detail: most require 1½" extra clearance on all sides. Your actual opening needs to be 3" wider and taller than the unit itself.
Building the Frame
Step 3: Create four rectangular frames from your 2×4s—base, two sides, and top.
Cut pieces to length and assemble using 2½" screws. These frames provide structure for everything that follows.
Step 4: Build the frame cavity according to your insert's dimensions.
Important: Drill a 2" hole in the back panel for the electrical cord before assembly. Adding this later creates major headaches.
Step 5: Attach the entire frame assembly to wall studs using 3" screws.
Hit at least two studs for proper support. Use your level constantly—a crooked frame causes problems throughout the build.
Adding the Skin and Finish
Step 6: Cover the frame with ¾" plywood or MDF, leaving the opening sized for your insert.
Cut pieces to fit and secure with 1¼" screws every 12". This creates the foundation for your finish material.
Step 7: Apply your chosen finish material.
For stone veneer: Most manufactured options install directly over existing surfaces without additional support, making them perfect for DIY projects. For peel-and-stick tiles: Clean the surface thoroughly and apply from the center outward, working in small sections. Quality tiles allow repositioning for several minutes after placement.
Installing Your Electric Insert
Step 8: Test-fit your insert before final finishing.
Most units either plug into standard outlets or can be hardwired to dedicated circuits, depending on your setup and local requirements.
Step 9: Secure the insert following the manufacturer's instructions.
Many inserts use side brackets that attach to your frame—install these mounting points before your final finish work.
Cleanup & Disposal
Store leftover tiles and touch-up paint in labeled containers for future repairs
Vacuum regularly around the insert's air intake to maintain efficiency
Clean glass panel monthly with manufacturer-approved cleaner
Dispose of construction debris according to local waste management guidelines
Keep combustible materials at least 3 feet away from the unit
Troubleshooting
Problem: Insert doesn't fit properly → Fix: Double-check rough opening measurements; most need 1½" clearance on all sides—even small discrepancies prevent proper installation
Problem: Tiles won't stick → Fix: Clean surface with degreaser and ensure room temperature is 65-75°F during installation; cold surfaces reduce adhesive effectiveness
Problem: Frame feels unstable → Fix: Add diagonal bracing inside the frame and verify attachment to at least two wall studs with appropriate fasteners
Variations and Upgrades
Budget option: Use paintable MDF instead of tile for a clean, modern look
Renter-friendly: Build as a freestanding unit without a wall attachment
Luxury upgrade: Add built-in shelving on sides or LED accent lighting behind insert
Why It Works So Well
Electric inserts provide realistic flame effects without ventilation requirements, eliminating the complexity of gas lines, chimney connections, or building permits. You're working with basic carpentry and decorative finishing—skills most DIYers can master.
The modular construction approach lets you customize proportions and materials while keeping costs reasonable. Research shows most projects finish under $1,000, compared to installing a real fireplace, which easily runs $5,000+. That blank wall transforms into the room's natural gathering spot, creating not just heat but a focal point that organizes your entire living space.



















Comments
Be the first, drop a comment!