


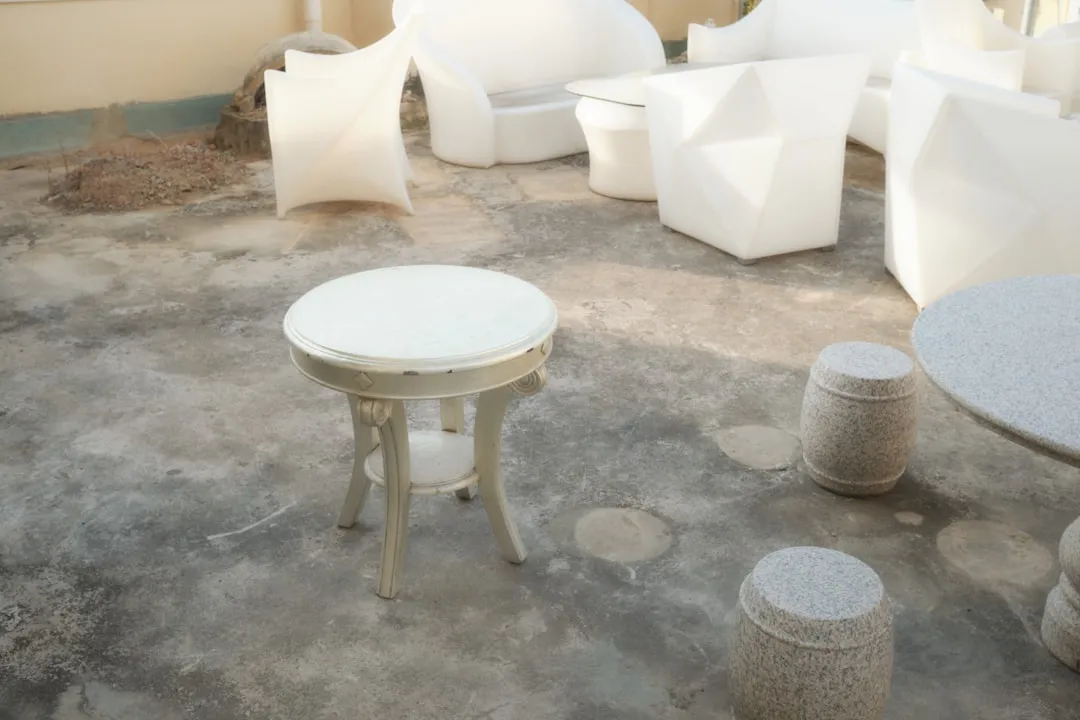
You know that moment when you step into a small bathroom and feel like you're playing Tetris with your morning routine? After years of working in cramped bathrooms, I discovered something that sounds a little wild for tight spaces: adding a side table is one of the smartest moves you can make.
Difficulty: Novice
Time: 30 minutes
Cost: ~$25-50
I used to think adding furniture to a tiny bathroom was like wearing a winter coat in July, technically possible, but why would you? Then I started experimenting with clients who wanted storage without drilling into rental walls or tearing anything out. What I found surprised me. Professional designers have discovered that strategic placement of compact furniture creates both additional storage and a more complete, cozy atmosphere, and my own projects back this up. The key insight? You don't need a complete renovation to achieve both functionality and visual appeal if you work with your bathroom's constraints rather than fight them.
What You'll Need
Materials
Side table (12-18" wide, under 10-12" deep) or mobile cart
Waterproof trays or coasters for protection
Storage baskets (sized to fit under the table if applicable)
Felt pads for table legs or wheels
Water-resistant wood sealant (for untreated wood options)
Tools
Measuring tape
Level (to check floor evenness)
Cleaning supplies for the setup area
Safety First
Maintain at least 21 inches of clear space in front of the toilet and 15 inches from its centerline to any side object
Test all door and fixture operations with the table in place
Check that the table height does not block access to plumbing shutoffs
Use non-slip pads under table legs on tile floors to prevent shifting
For wall-mounted options, locate and anchor to wall studs
Steps
Create your space template before shopping. Use painter's tape to outline your maximum table footprint on the bathroom floor, marking the 15-inch minimum clearance zone from your toilet.
Test everything: Walk through your regular routine to confirm the taped area will not interfere with movement or door operation.
Select your table based on template measurements. Choose options that fit easily within your taped area and are suited to bathroom humidity.
Material checkpoint: For wood tables, confirm they are pre-sealed or plan to apply a water-resistant finish before first use.
Prepare your space and table. Clear the area and clean the floor. If using an unsealed wood table, apply the finish and allow it to fully cure.
For mobile carts: Apply felt pads to wheels now; it is much easier than flipping a loaded cart later.
Position and stabilize your table. Place the table in your predetermined spot and check level. Add furniture pads under legs if needed to prevent sliding on smooth floors.
Stability test: Gently push on corners and edges to confirm the table will not tip when loaded with typical bathroom items.
Add protective elements and organize. Place waterproof coasters or trays where you will set bottles or containers. Add storage baskets or organizers that fit your space.
Start simple: Begin with essentials like spare toilet paper or hand towels, then layer in decor to warm up the room.
Why it works: Small bathrooms pull the eye upward with vertical storage, towel bars, and mirror cabinets. A properly sized table adds horizontal surface area that balances all that vertical weight and creates clear zones for daily tasks, so the room feels organized, not cramped.
Cleanup & Disposal
Wipe down the table with bathroom-safe cleaners weekly
Check and readjust felt pads or protective elements monthly; humidity can affect adhesion
Store leftover sealant per the manufacturer; tightly sealed containers prevent waste
Keep packaging from baskets or organizers until you are sure the sizing works long-term
Troubleshooting
Problem: Table wobbles or feels unstable → Fix: Check floor level with a spirit level; use furniture shims or adjustable leg pads to compensate for uneven surfaces
Problem: Doors will not open fully with table in place → Fix: Reposition the table 2 to 3 inches away from the door swing path, or choose a narrower model
Problem: Wood showing water spots or swelling → Fix: Sand lightly, let dry completely, then reapply marine-grade polyurethane; consider switching to laminate or metal for high-humidity areas
Problem: Items keep sliding off during use → Fix: Add a raised edge using adhesive weather stripping, or choose trays with lips for containing bottles and containers
Variations & Upgrades
Ultra-budget option: Use a plant stand (check weight capacity) with a waterproof tray, or repurpose a small nightstand with proper sealing
Renter special: Choose pieces that double as bedroom furniture when you move, small side tables, and rolling carts that transition easily
Storage maximizer: Add coordinating under-shelf baskets, or attach discrete towel bars to table sides using removable adhesive hooks
The transformation goes deeper than extra storage
Designers say side tables make bathrooms feel more complete and cozy while providing desperately needed storage, and clients tell me their bathrooms feel "less like a closet and more like a room" afterward.
The visual shift works because small bathrooms skew vertical. Everything stacks on walls. Adding a horizontal element at the right height brings balance and gives your eye a place to rest. When you choose pieces with rails and edges that keep items safely in place while complementing existing metal accents, the space starts to feel cohesive and intentional.
Day to day, the real magic shows up in your routine. Instead of balancing bottles on the toilet tank or crowding a tiny vanity, you have a dedicated landing spot for the things you actually use.
Whether you pick a simple pedestal table, a rolling cart, or a recessed pull-out, this small change creates what designers call activity zones — specific areas for specific tasks — that smooth your morning and make the room feel larger.
The best part? You will know within a week if it is working. If you reach for the table without thinking and feel less frustrated, you hit the sweet spot. If not, most of these solutions are adjustable or fully reversible, which is precisely how the best small-space improvements should work.


Comments
Be the first, drop a comment!