How to Install Metal Shelving That Actually Works
Difficulty: Moderate
Time: 2-4 hours
Cost: $30-75 per shelf system
Why You'll Like This
Got cramped garage space or a closet that's driving you crazy? Metal shelving can be the fix, but only if you install it right. Skip the planning, get wobbly shelves that sag or, worse, collapse. Plan it right and you turn vertical space into organized storage that actually works, as confirmed by research from Renuity Home. Proper installation is the line between shelves that hold your stuff safely and ones that become expensive mistakes.
Metal shelving beats flimsy store-bought units. Stronger, more customizable, often cheaper than you think. You get what you need, not whatever happens to be on the shelf.
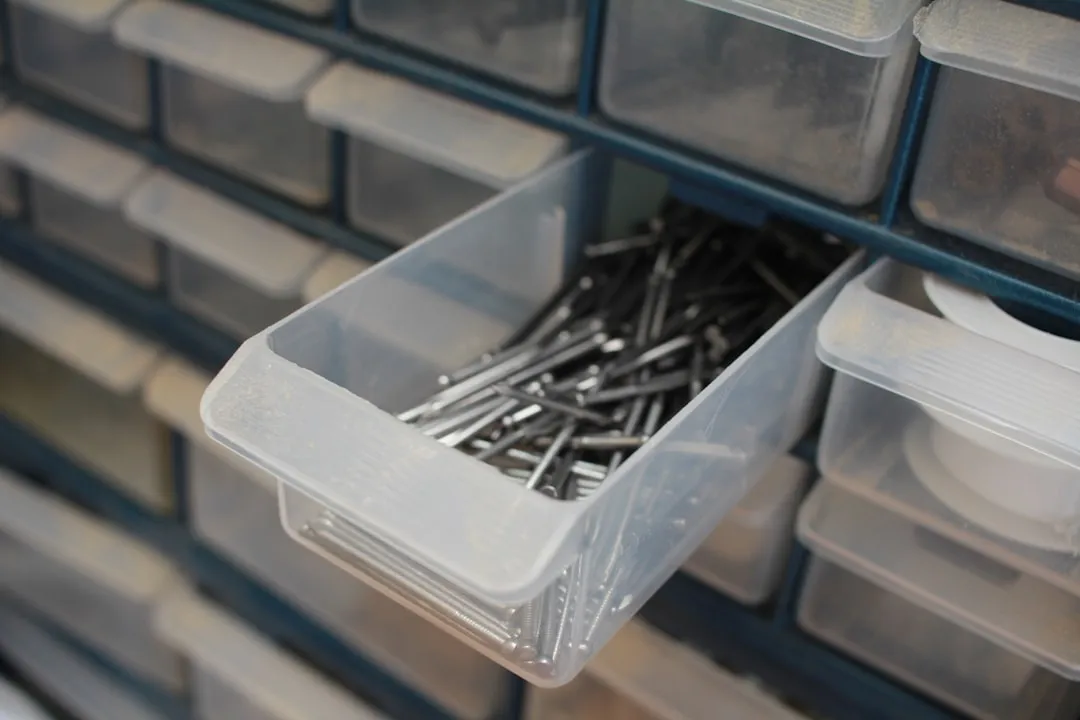
<<IMAGE_PLACEHOLDER:metal-shelf-installation-tools>>
What You'll Need
Materials
Metal shelf brackets, rated for intended load
Wire shelves or metal shelf boards
Wall anchors or concrete anchors, if not hitting studs
3-inch wood screws for stud mounting
End caps for wire shelves
Hang track, if using wire shelving system
Tools
Stud finder
Drill with bits, masonry bit for concrete walls
Level, 4-foot recommended
Measuring tape
Pencil for marking
Safety glasses
Bolt cutter or hacksaw, for cutting wire shelves to length
Safety First
Wear safety glasses when drilling overhead or into masonry
Use proper ladder safety, maintain three points of contact
Never exceed manufacturer weight limits, this prevents collapse
Check for electrical cables and plumbing before drilling into walls
Adult supervision required for power tool use if kids are helping
For garage installations, ensure adequate clearance for vehicle doors
Planning Your Metal Shelf Project: Measure Twice, Drill Once
Smart planning turns a headache into a satisfying project. Measure your space carefully and list what you will actually store, as recommended by Flexpipe. Not just dimensions. Think weight. Holiday decorations weigh far less than paint cans or books, so choose brackets to match. What goes where, and how often will you grab it? Quick mental map: paint and tools down low, labeled bins at eye level, bulky seasonal stuff up top.
A well-installed floating shelf commonly holds roughly 20–50 lb per linear foot, depending on bracket and wall anchoring; consult manufacturer specs. (NAHB recommends mounting shelf clips into studs.) when properly anchored into studs, according to the National Association of Home Builders. Use that as your baseline, then create zones based on weight and access frequency. Reserve higher shelves for rarely used items and keep frequently accessed items at eye level, as suggested by Willamette Carpentry.
Why it works: planning storage zones around how often you use things increases efficiency and helps prevent overloading the shelves that are hardest to reach safely.
<<IMAGE_PLACEHOLDER:garage-storage-planning-layout>>
Steps
Locate wall studs with a stud finder. Studs are typically spaced 16 or 24 inches apart, measured center to center, as explained by The Spruce. Mark stud locations lightly with pencil. Your bracket placement will depend on whether you are using individual brackets or a wire shelving system.
Tip: for maximum stability, mount brackets into wall studs rather than relying solely on drywall anchors, according to Ironmongery World.
For wire shelving systems, install the hang track first. Run it parallel to the ceiling and secure the top track to studs/top plate using the manufacturer-recommended screws for your wall type (use appropriate length and diameter screws/anchors). This track supports the entire system weight.
If the ceiling is uneven, if ceiling is uneven, plane the track placement so the standards hang plumb — follow manufacturer guidance for offsetting from the ceiling.
For bracket systems, use a level to keep everything horizontal. Pre-drill holes at marked locations to prevent wall damage, then secure brackets with appropriate screws, as recommended by Home Depot. Space brackets no more than 24 inches apart for light to medium loads.
For wire systems, hang standards from the track and position them directly over studs when possible, no more than 24 inches apart.
Install shelf brackets on wire standards by inserting them into the slots and pressing down until they snap in place, according to Home Depot. For bracket systems, you are done once brackets are mounted to the wall.
Planning baskets or hanging elements? Check vertical spacing for those accessories before you lock everything in.
Place shelves on the bracket supports and make sure they sit firmly. For wire shelves, add end caps on exposed ends once shelves are in place. Test stability by gently pressing down on each shelf.
To shorten wire shelves, use a bolt cutter or hacksaw and trim the wire shelving to fit, then file burrs and test-fit manufacturer end caps; follow the shelving maker's trimming instructions.
Cleanup & Disposal
Store leftover screws and brackets in labeled containers for future adjustments
Sweep up metal shavings and wood dust, dispose in regular trash
Clean tools and return the stud finder to storage, check battery level first
Wipe down installed shelves with a mild soap solution before loading items
Troubleshooting
Problem: Shelves sag under weight → Fix: Add additional brackets in the center of long shelves, as suggested by Ironmongery World. For wire systems, ensure standards are properly spaced and secured into studs.
Problem: Shelves will not stay level → Fix: Confirm brackets are aligned and wall anchors are secure, then remeasure and adjust as needed. For wire systems, verify the hang track is level.
Problem: Wire shelf end caps will not fit → Fix: Make sure the cut wire ends extend far enough to hold the plastic end cap securely, and that you cut at a full inch measurement.
Variations & Upgrades
Budget option: use simple L-brackets with plywood shelves for lighter storage needs
Heavy-duty upgrade: choose steel brackets with diagonal support for storing paint cans, tools, or books
Adjustable system: install standards with moveable brackets that can be repositioned as storage needs change
Garage-specific: consider adjustable metal shelving that maximizes space all the way to the ceiling, often more effective than bulky cabinetry in small spaces, according to The Spruce
Making the Most of Your New Storage Space
Take your setup from functional to fantastic with smart organization. Use clear storage bins on wire shelves to keep small items from falling through, and add shelf liners for a finished look, as recommended by Willamette Carpentry. Label everything clearly, a label maker helps organize garage shelves and keeps like items together in storage bins, according to The Spruce.
Keep your investment working with seasonal maintenance. Check brackets and screws to ensure they have not loosened over time, as advised by Ironmongery World. In humid environments like garages, wipe down wire shelves regularly with mild soap solution and consider rust-preventive coatings, according to Willamette Carpentry. Quick touch-ups now save headaches later.
Your newly organized space should work better than you imagined. No more digging through piles or wondering where you put something. Metal shelves, properly installed, turn chaos into order and give you back valuable floor space. The time you put into planning and careful installation pays off every time you find what you need.











Comments
Be the first, drop a comment!