


Fix Your Fireplace Wall Problems: Three Solutions That Actually Work
Difficulty: Moderate
Time: 1-3 weekends
Cost: $200-1200
Want a fireplace wall that actually works for your space? Three major problems keep showing up in homes everywhere, and they're easier to fix than you might think. You don't need a complete renovation—just smart solutions that address what's actually bothering you about your space.
Maybe you're staring at a completely blank wall that feels cold and unwelcoming. Or perhaps you've got a fireplace that screams "dated" every time you walk into the room. Then there's the classic proportion problem—everything looks off, especially when you try to figure out where the TV should go. Research shows that adding an electric fireplace with proper framing creates the focal point many living spaces desperately need. The good news? Budget-friendly DIY approaches can transform tired brick into modern masterpieces, while strategic upgrades completed before 2026 can convert overlooked hearths into powerful focal points that boost home value.
I've tackled all three of these challenges in different homes, and here's what I've learned: the solution isn't always what you'd expect, and you definitely don't need to break the bank to get real results. Each problem has its own sweet spot where the right approach delivers maximum impact for reasonable effort and cost.
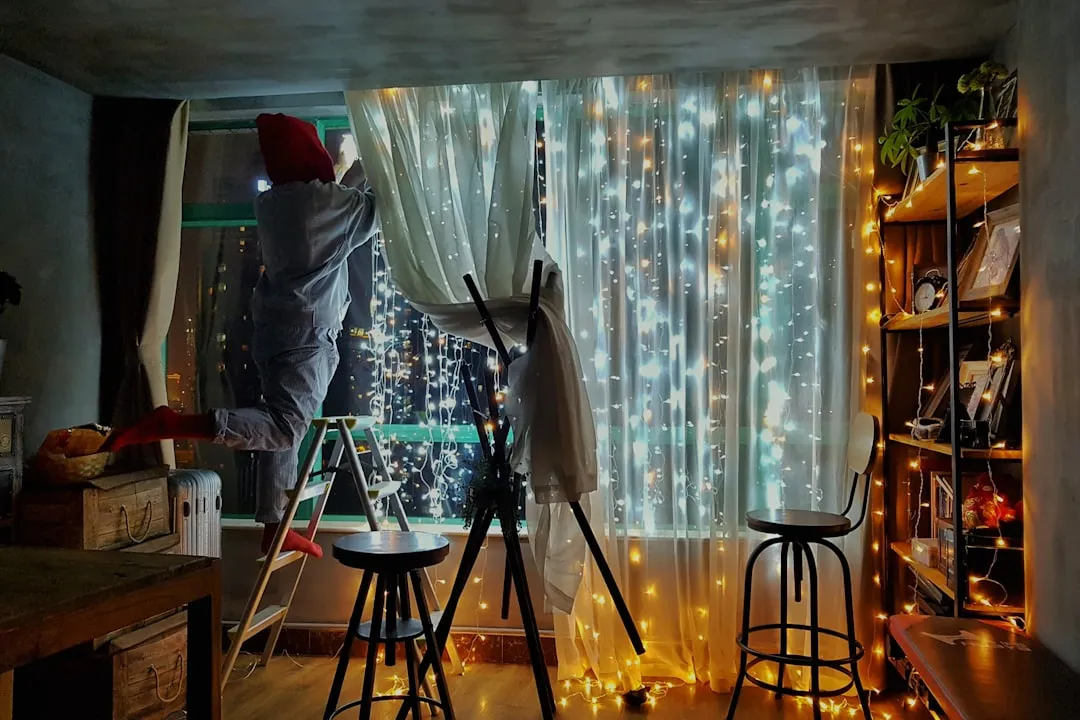
Dilemma 1: "My blank wall feels empty and uninviting"
Difficulty: Moderate
Time: 1-2 weekends
Cost: $400-700
The solution goes way beyond just slapping up a fireplace and calling it done. You're creating a complete wall transformation that brings both warmth and character to your space. When I worked on a similar project, I learned that Erika decided a fireplace was just the thing for this 9-foot-long wall in her 1950s home, proving that even challenging spaces can become stunning focal points.
The magic starts with proper planning—but here's where most people get it wrong. They focus on the fireplace itself instead of thinking about the entire wall as a unified design element. The project started with framing out the fireplace, which gives you the structure you need for everything else to work properly.
What you'll need:
Materials
- Electric fireplace insert ($200-500)
- Pre-cut furring strips, 1x2 in. or 1x3 in. (around $50-80)
- Wood stain in golden oak or preferred finish ($15-25)
- Construction adhesive or finishing nails ($10-20)
- Basic framing lumber, 2x4 studs ($40-60)
Tools
- Circular saw or miter saw
- Drill with bits
- Level
- Stud finder
- Safety glasses and gloves
Safety first: Power off electricity at the breaker before any electrical work. Adult supervision required for power tool use. Wear safety glasses when cutting and drilling.
The breakthrough comes from the surround treatment, and this is where the project gets interesting. The slatted wood design offers an extra benefit—it hides cords from both the fireplace and any mounted TV above, solving multiple design problems at once. This mid-century inspired approach works because the vertical lines add height while the natural wood texture brings warmth.
Steps:
-
Frame the opening: Build a precise frame using 2x4s, checking level and plumb at every step. This frame determines how professional everything looks later.
-
Install the fireplace insert: Follow manufacturer instructions exactly—electrical connections need to meet local codes.
-
Prep the slats: Cut furring strips to varying lengths for visual interest. In my experience, planning these cuts on paper first prevents waste and ensures better rhythm.
-
Stain and cure: Apply your chosen finish and allow full cure time. The golden oak finish typically takes 24 hours to properly harden.
-
Install the surround: Use construction adhesive for a clean look, or finishing nails if you prefer mechanical fastening. Space evenly for the best visual impact.
Pro tip: Installing sconces on either side makes the whole wall look truly built-in, like it came with the home originally. Plan electrical rough-in during the framing phase to avoid surface-mounted wiring.
Troubleshooting:
Problem: Uneven spacing between slats → Fix: Use a spacer jig cut to your desired gap width
Problem: Visible cord management → Fix: Route cords behind slats before final installation
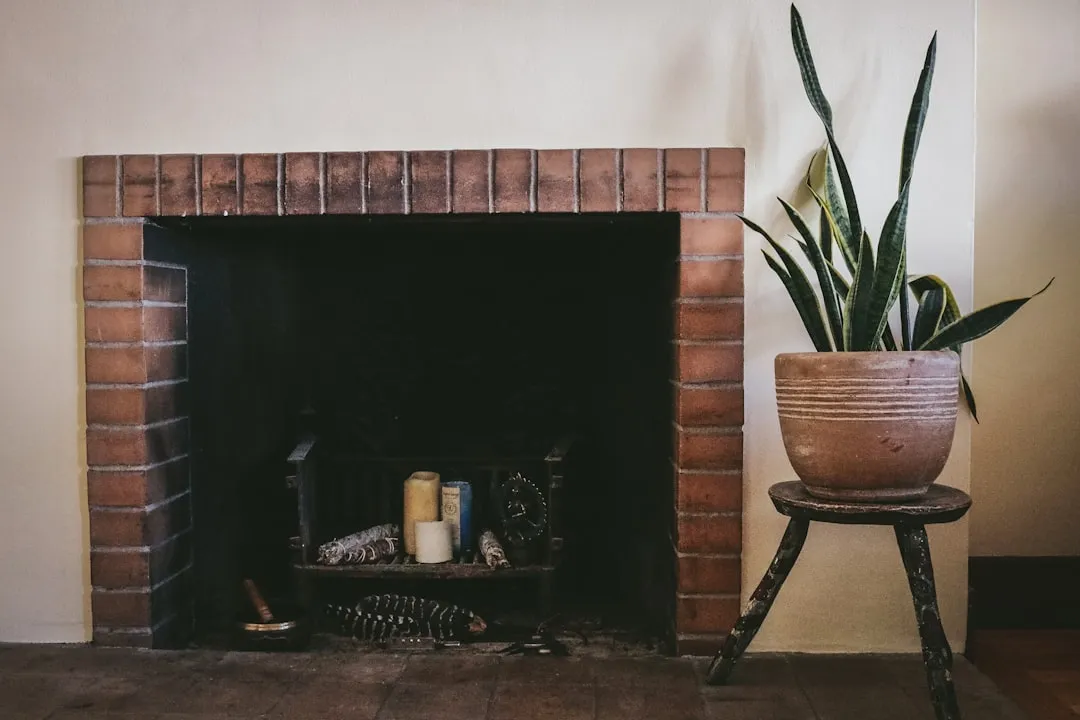
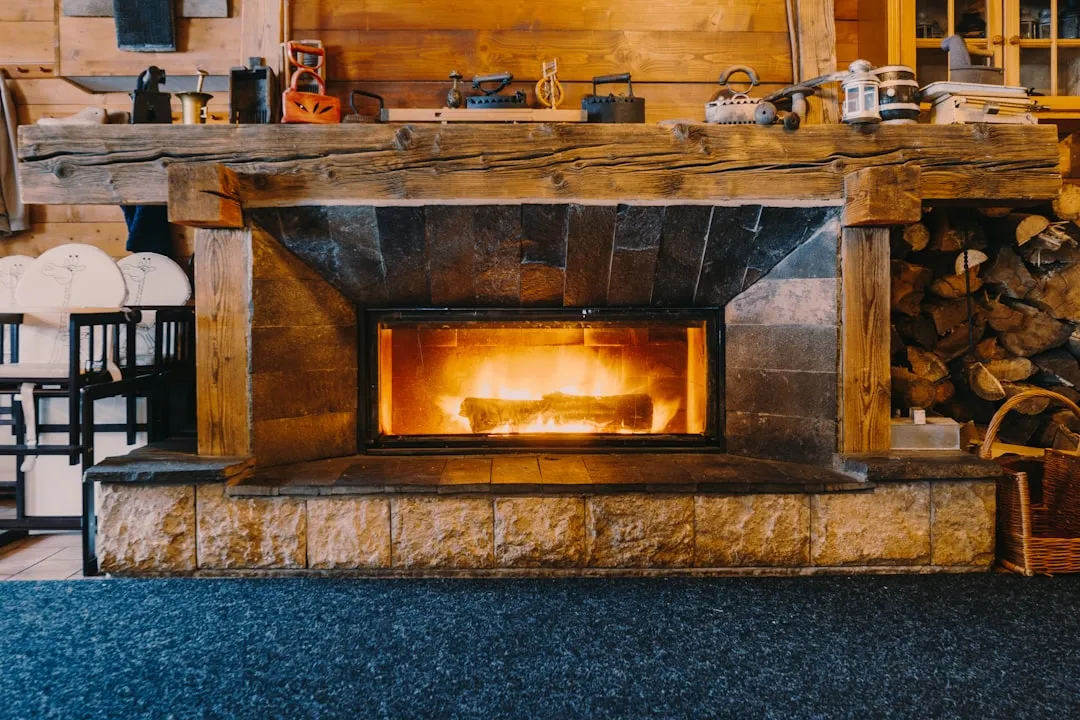
Dilemma 2: "My existing fireplace looks dated and needs a refresh"
Difficulty: Novice to Moderate
Time: 2-4 weekends
Cost: $200-800
Here's what I've learned from refreshing several dated fireplaces: most of them aren't structurally wrong—they just need updated finishes and cleaner lines. Painting tired brick can transform your fireplace into a modern masterpiece, while the average cost of refacing ranges from $400 to $2,000—but DIY approaches can significantly reduce this expense.
The key insight: work in layers. Start with cleaning and minor repairs, then layer modern finishes—paint or limewash, a streamlined mantel, and a cohesive surround.
Step-by-step refresh process:
-
Deep clean first: This step makes or breaks everything that follows. Soot films, fogged glass, and hairline mortar cracks create a "project" perception. Vacuum the firebox, brush masonry with natural bristles, and refresh metal components. I've seen this step alone transform how people perceive their fireplace.
-
Update the color strategically: When texture is right but color is wrong, a masonry-safe coating is the cleanest path to a contemporary look. Modern neutrals and softly moody tones add depth and help tie into today's furniture. The prep work determines longevity—degrease, patch, prime with compatible products, and allow full cure times for durability.
-
Simplify the mantel: Swap ornate, heavy profiles for a streamlined floating shelf or minimalist slab of reclaimed wood. Sharp lines convey an updated sensibility without overwhelming the surround. From my experience, this single change often has the biggest visual impact.
Alternative surface treatments: If paint isn't enough, ditching brick and embracing stone with faux stone panels is budget-friendly, while tiling the surround with subway tiles or mosaics creates a unique look with heat-resistant materials.
Why it works: Surface updates change the entire character of a fireplace while preserving the underlying structure. The combination of clean surfaces, modern colors, and simplified lines creates the illusion of a complete renovation for a fraction of the cost.
Troubleshooting:
Problem: Paint won't adhere to masonry → Fix: Use acid-based masonry cleaner before priming
Problem: New mantel looks too small → Fix: Extend width 6-8 inches beyond the firebox opening on each side
Cleanup & disposal: Dispose of paint chips and old materials according to local hazardous waste guidelines. Store leftover paint properly labeled, and clean brushes thoroughly with appropriate solvents.
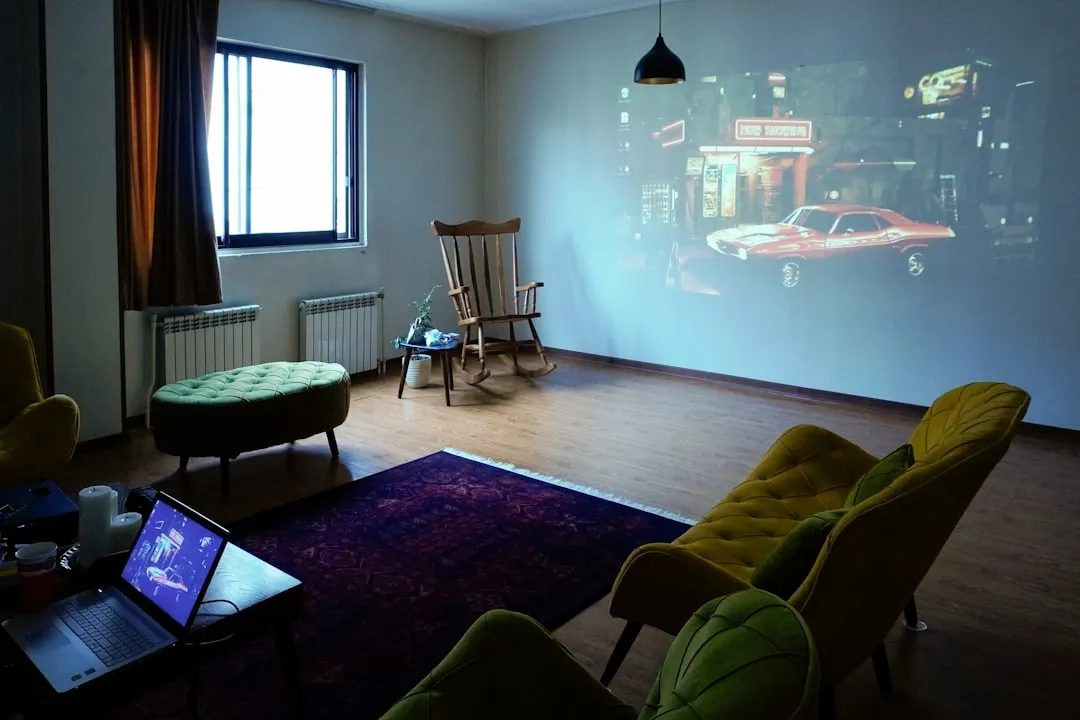
Dilemma 3: "The proportions feel off with my TV and furniture arrangement"
Difficulty: Moderate
Time: 1-3 weekends
Cost: $300-1200
This is where I see the most confusion, and I get it—proportion problems are tricky to diagnose. The issue isn't usually the fireplace itself; it's how everything else relates to it visually. When you have a TV above your fireplace, you need equally weighted items on either side to maintain balance.
Here's what I've learned: Your fireplace wall has unique location, layout, and measurements, plus lighting, furniture, and color considerations that affect the overall design. Cookie-cutter solutions rarely work—you need to address your specific proportional challenges.
Key proportion fixes:
For high ceilings: High ceilings allow for longer, sleeker artworks or mirrors, while floor-to-ceiling bookshelves are popular design elements for these spaces. The challenge is creating visual continuity that draws the eye upward without making the fireplace look small by comparison. Vertical shiplap can elongate the wall and make ceilings feel taller while maintaining proper scale.
For TV integration: You'll need to choose wall art intelligently for mounted fireplace wall ideas. The goal is creating a cohesive media wall rather than having competing focal points. I've found success with built-in solutions—one designer used IKEA IVAR cabinetry with added shelving and a fireplace surround to make everything look built-in and properly scaled.
For small spaces: A fireplace can anchor any sitting area regardless of size. Sometimes less really is more—focus on clean lines and minimal styling rather than competing elements. The key is choosing elements that complement rather than fight for attention.
Material coordination matters: The best results come from proportion: align edges with architectural lines, keep grout consistent, and let finishes complement flooring and millwork. When materials integrate well with the rest of the room, they enhance the overall aesthetic.
Steps for proportion fixes:
-
Measure and map: Create a scaled drawing of your wall—this helps you visualize relationships before making changes.
-
Assess visual weight: Identify how heavy each element appears (TV, fireplace, built-ins, artwork) and note imbalances.
-
Balance strategically: Use heavier elements to anchor lighter ones, or group lightweight items to create visual mass.
-
Test before committing: Use cardboard templates to test arrangements before mounting anything permanently.
-
Evaluate from seating distance: Step back frequently to assess balance from where people actually sit and view the space.
Variations & upgrades:
- Budget approach: Use removable wallpaper or peel-and-stick tiles for testing proportion changes
- Mid-range solution: Add floating shelves or simple built-ins to balance TV placement
- Full renovation: Custom millwork that integrates fireplace, TV, and storage into one cohesive unit
Your fireplace wall success plan
These three dilemmas represent the most common fireplace wall challenges I encounter, but the solutions share important threads: proper planning, strategic material choices, and attention to proportional relationships. Over two-thirds of homeowners prioritize fireplace updates during renovations, and from my experience, simple changes can dramatically improve your room's atmosphere regardless of your starting point.
Whether you're building from scratch, refreshing an existing fireplace, or solving proportion problems, focus on creating visual balance, using quality materials appropriate for your budget, and ensuring safety throughout the process. Solutions are available for all styles and budget ranges, making it possible to transform your fireplace wall into the stunning focal point your room deserves.
Start with the dilemma that matches your situation, gather your materials, and tackle it systematically. Your fireplace wall can become the room's signature feature with the right approach and attention to detail. The key insight I've gained from multiple projects: most fireplace wall problems aren't structural—they're design challenges with practical, achievable solutions.


Comments
Be the first, drop a comment!