


Looking at your room and thinking about a weekend project? Small touches can flip your space from "okay" to "absolutely amazing." Good news, you do not need a massive budget or pro-level skills to make it feel special. One afternoon, a few tools, a little nerve. Done.
Difficulty: Novice to Moderate
Time: 2-4 hours per project
Cost: $15-$75 per project
Why You’ll Love These DIY Projects
DIY home projects increase the value of your home and give you a sense of accomplishment. That practical boost is great, but the deeper win is making something with your own hands. Picture the blank wall over the sofa, a rental hallway that needs personality, or a scuffed dresser begging for paint. These projects bring custom style with minimal fuss.
What is exciting is how DIY home decor has evolved from basic crafts into a design-savvy practice rooted in aesthetic appeal, functionality, and intentional living. You are not just making stuff, you are creating pieces that improve how your space looks and works.
What You’ll Need
Materials
Paint samples or chalk paint (1 quart)
Wood boards (1x4 or 1x6 pine, 6-8 feet)
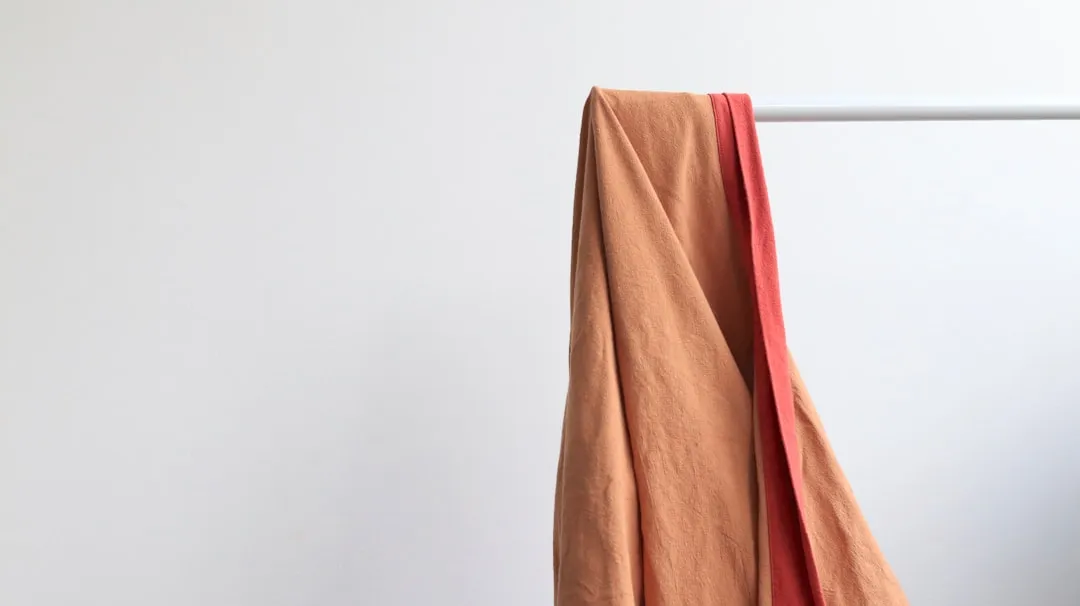
Fabric scraps or remnants (1-2 yards)
Mason jars or glass containers (3-6 pieces)
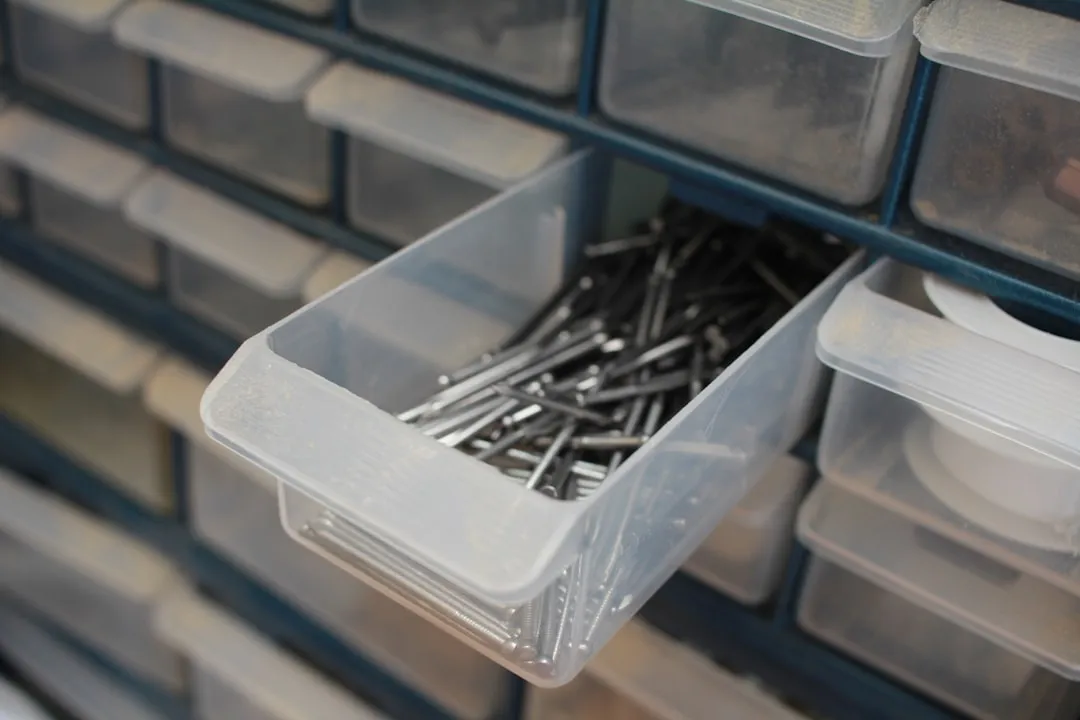
Basic hardware (screws, nails, picture hanging strips)
Tools
Drill with basic bits
Level, a smartphone app works too
Measuring tape
Scissors or fabric shears
Paintbrushes, angled and flat
Sandpaper, 120 and 220 grit
Safety First
Wear safety glasses when drilling or cutting
Use dust masks when sanding
Keep good ventilation when painting
Never mix cleaning chemicals if you are refreshing old furniture
Test paint colors in an inconspicuous spot first
When using power tools, keep the workspace clean and well lit
Steps
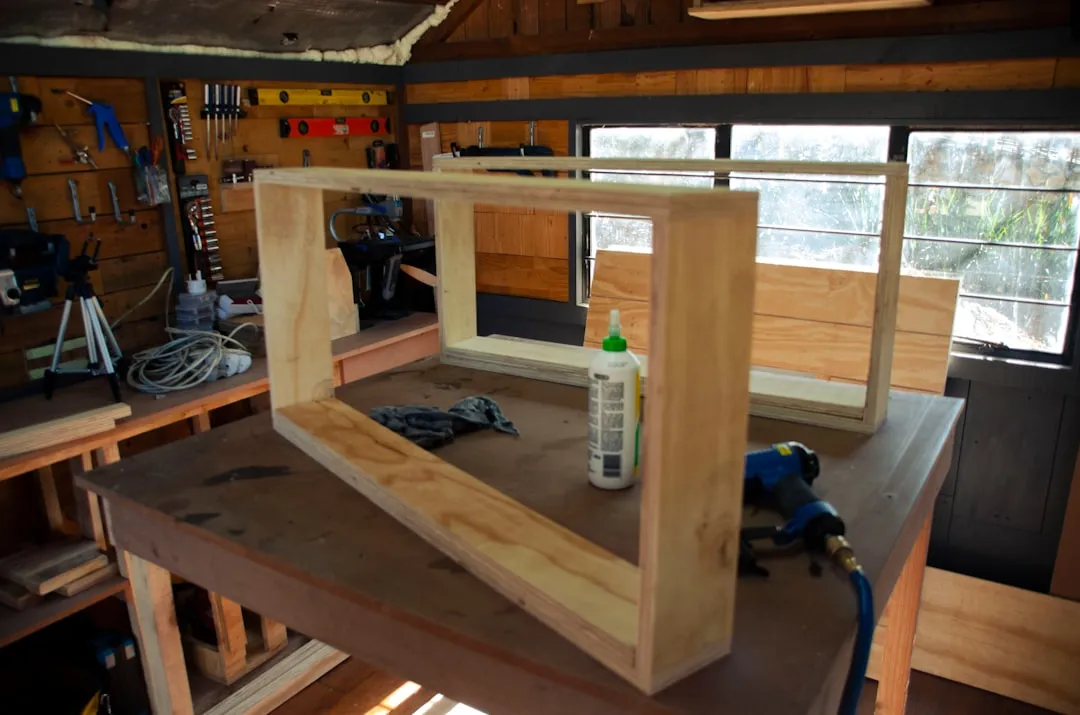
Create Floating Shelves for Instant Storage
Measure your space and mark where you want shelves with a pencil.
Tip, use a level app on your phone so lines read straight to the eye. Measure twice, cut once.
Cut your wood boards to the length you want, 24 to 36 inches works well.
Sand with 120 grit, then 220 grit for a smooth finish.
Install wall anchors suited to your wall and mark screw locations.
If using drywall, use toggle bolts for shelves that will hold books or decor.
Mount the shelf brackets and test stability before placing items.
Why it works, Floating shelves provide a sleek, modern solution for displaying décor items.
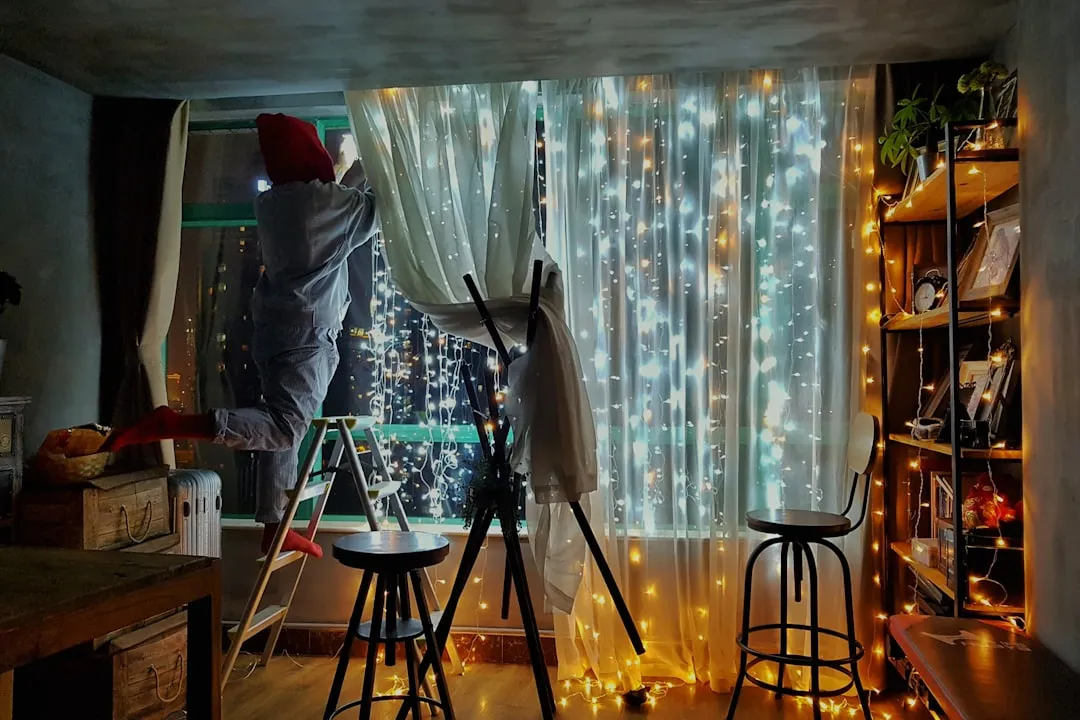
Transform Mason Jars into Statement Lighting
Clean jars thoroughly and remove labels with warm soapy water.
Drill a hole in each lid sized for your light cord, about 1/2 inch.
Safety, use a step bit to avoid cracking.
Thread LED string lights through the hole and arrange inside the jar.
Battery operated LED strips work best and stay cool.
Hang at varying heights using removable ceiling hooks for a cascading look.
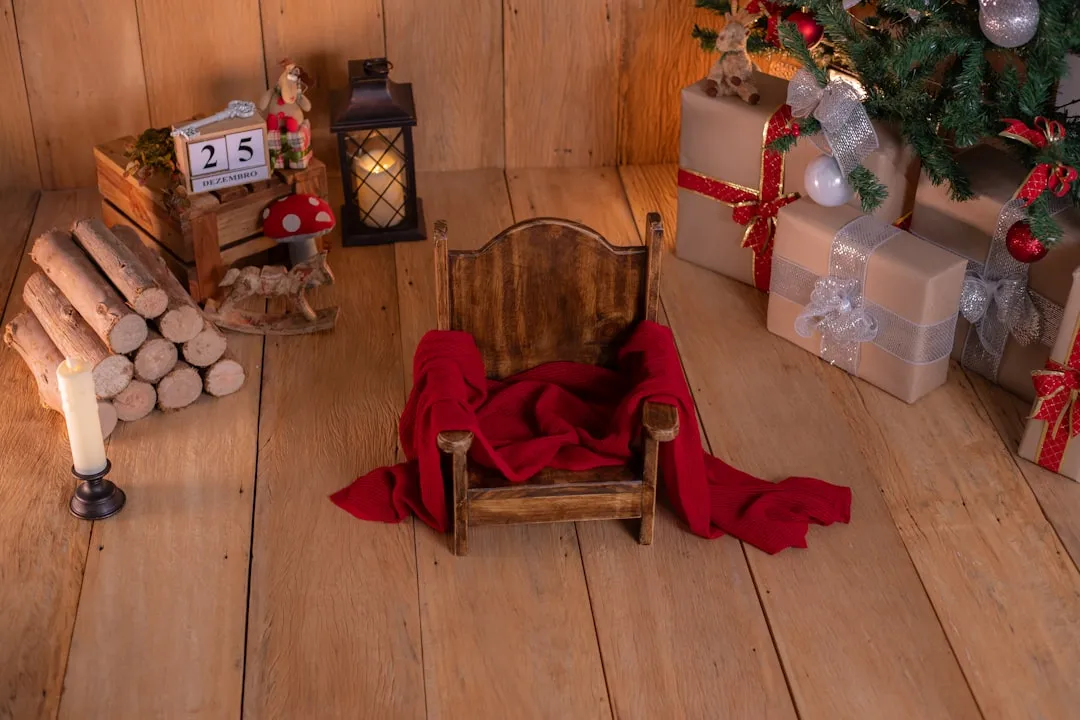
Refresh Furniture with Paint Techniques
Clean your furniture piece and lightly sand glossy surfaces.
Apply primer if you are going from dark to light colors.
Let it dry completely, usually 2 to 4 hours.
Paint in thin, even coats with long strokes in one direction.
Tip, chalk paint needs no priming and gives a soft matte finish.
Add character by lightly distressing edges with sandpaper once dry.
Cleanup & Disposal
Store leftover paint with the lid sealed tight for future touch ups
Clean brushes right away with the correct solvent
Dispose of paint water and solvents per local rules
Oil soaked rags should be spread flat to dry before disposal, fire hazard
Save wood scraps for small future projects
Troubleshooting
Problem: Paint is not adhering well → Fix: Clean the surface again and use the right primer
Problem: Shelves feel wobbly → Fix: Use longer screws and make sure you hit studs
Problem: Fabric frays when cutting → Fix: Use pinking shears or seal edges with clear nail polish
Variations & Upgrades
Renter-friendly option: Use Command Strips and removable wallpaper for personality without permanent changes (use only for lightweight items within the product's published weight limits — see Command weight guide.)
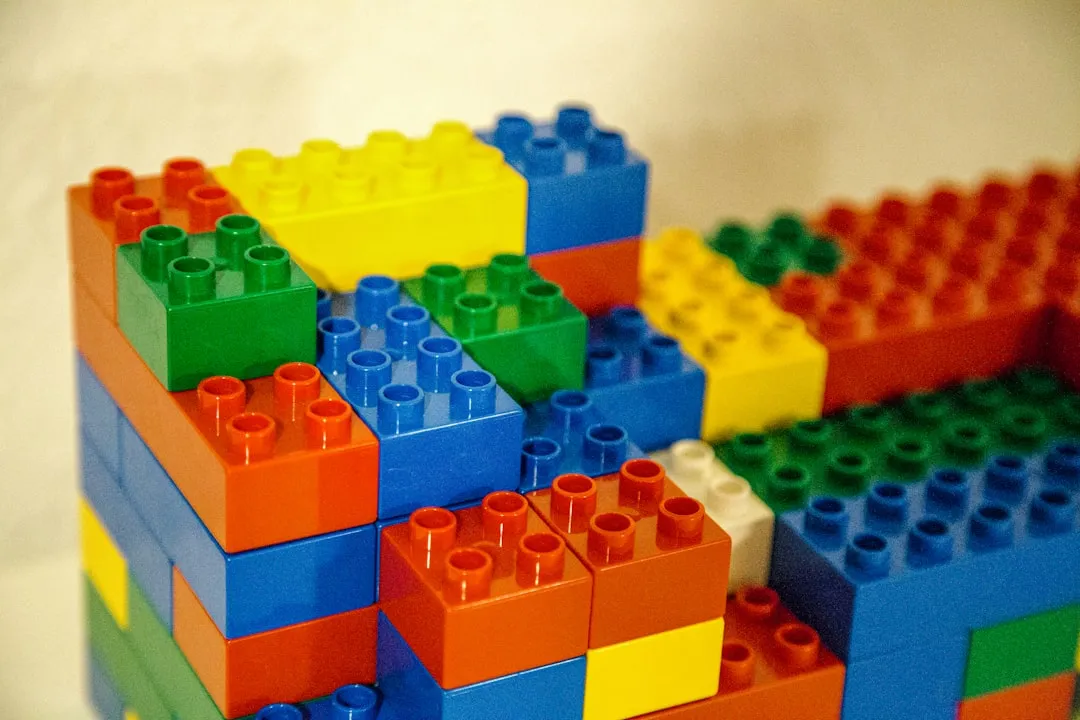
Kid-safe version: Use water-based paints and avoid small hardware pieces
Luxury upgrade: Add LED strip lighting under floating shelves for ambient glow
Quick Weekend Projects by Room
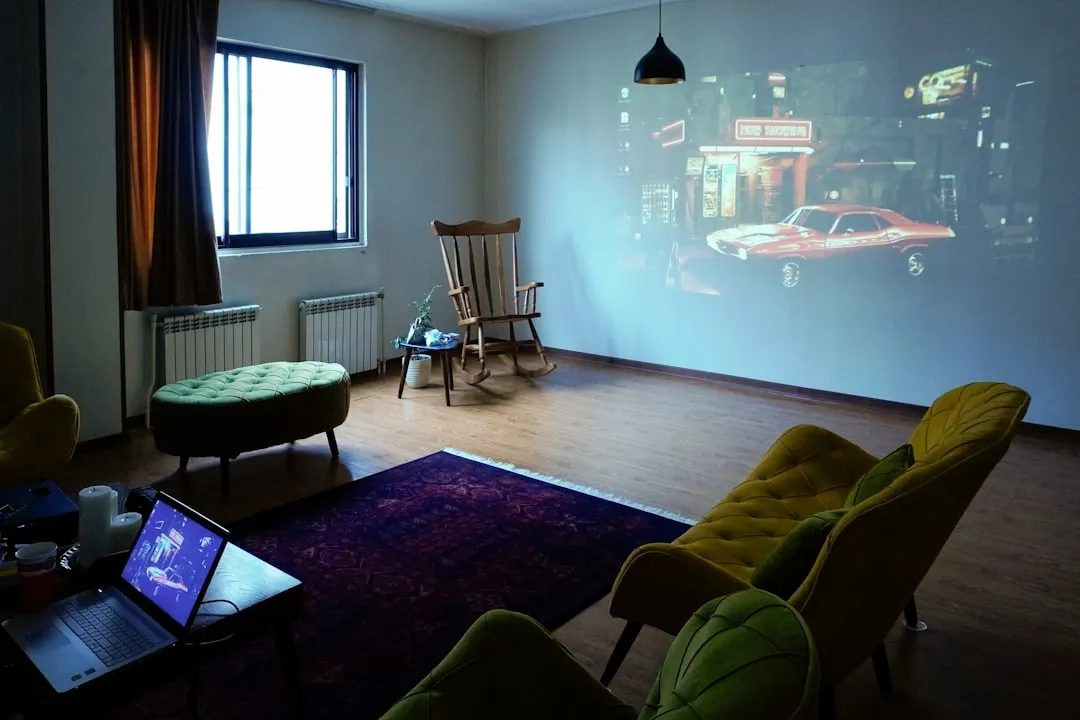
Living Room: Create floating wood shelves for a sleek, organized look or frame and hang abstract neutral art or pressed botanicals.
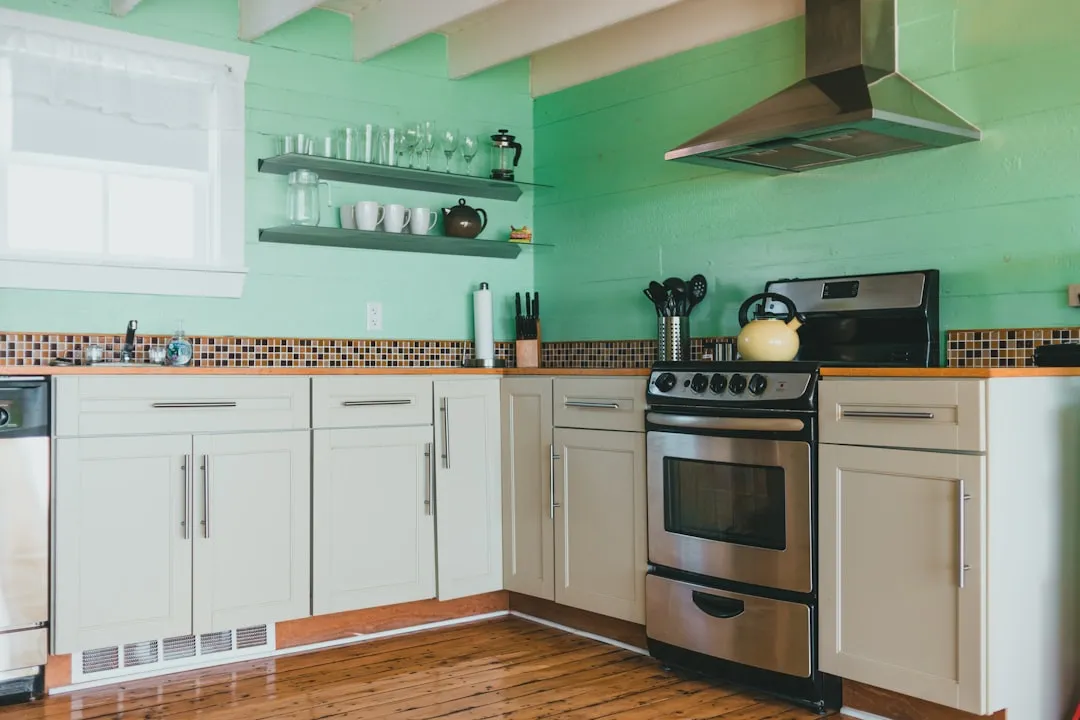
Kitchen: Use bamboo baskets and labeled glass containers for pantry upgrades or create a simple spice rack from reclaimed wood.
Bedroom: Build custom headboards using MDF or plywood as a base with foam padding, then cover with linen, velvet, or canvas fabric.
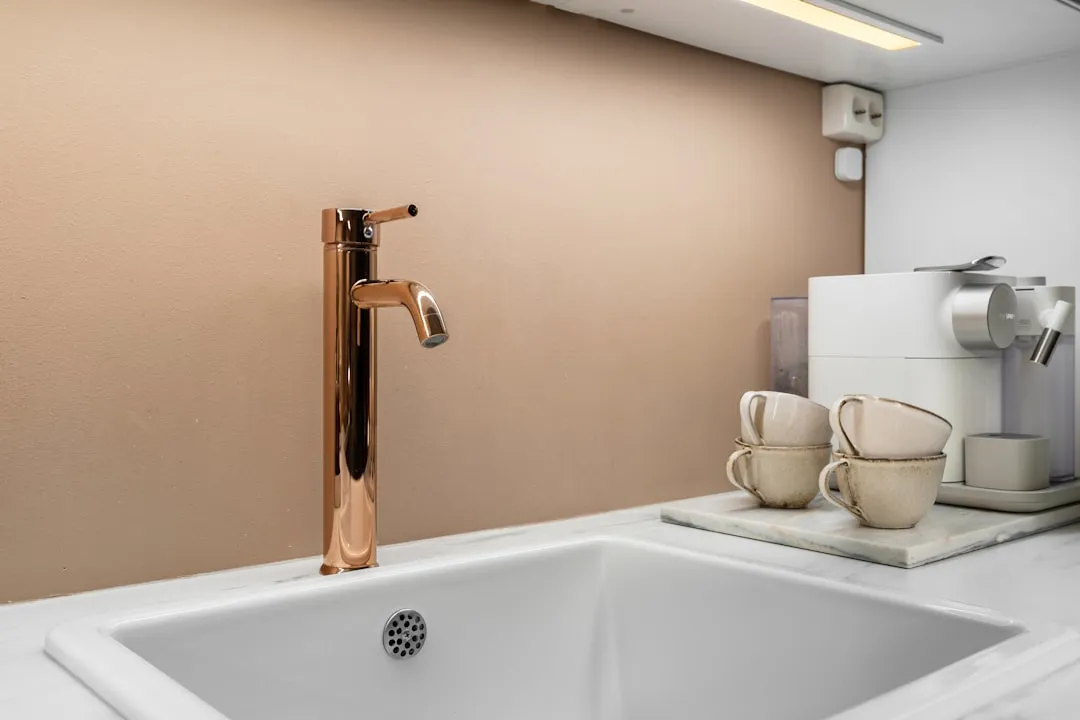
Bathroom: Paint cabinets in soothing tones like mushroom, sage, or white and replace plastic containers with amber glass bottles for toiletries.
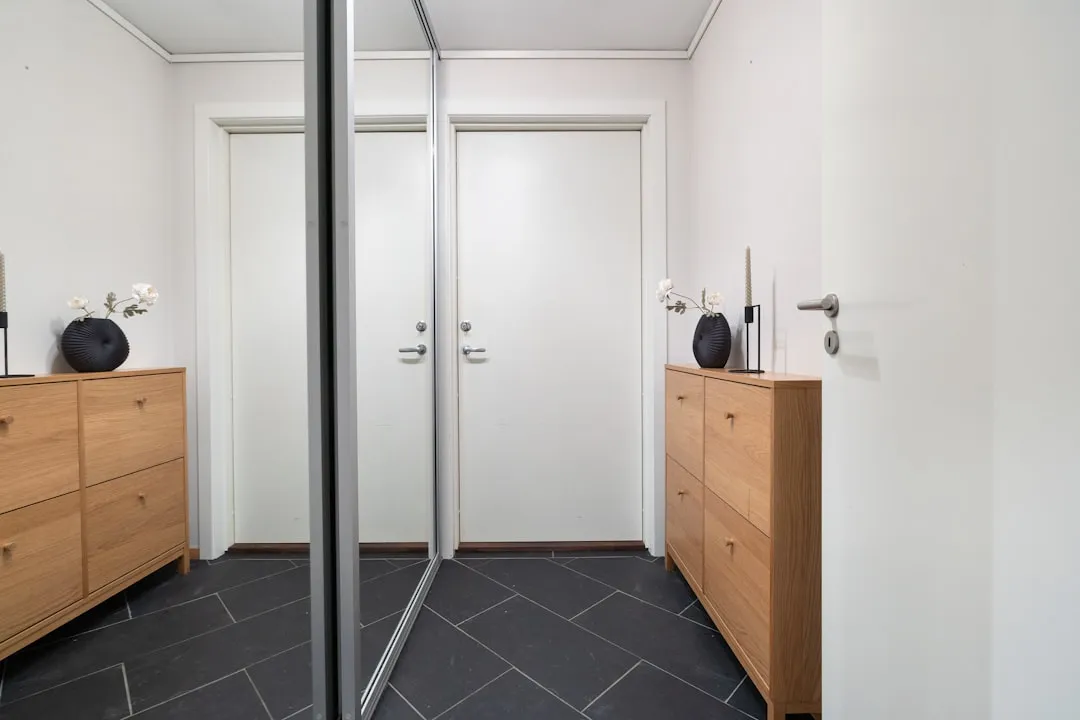
Renter-Friendly Alternatives
If you are renting, you are not stuck with bland walls and basic fixtures. These smart and removable decor hacks will dial up the wow factor without putting your deposit in jeopardy.
Try removable wallpaper, it is still trending and thanks to removable versions, renters can get in on the fun, too. You can even update your kitchen with a DIY backsplash made from fabric and clear plexiglass.
For lighting upgrades, pick up a corded light kit and flange from your local hardware store and score a wire basket at your local flea market to create custom pendant lighting.
FAQ
Can I use regular paint on furniture? You can, but furniture paint or chalk paint gives better adhesion and durability. Always clean and lightly sand first.
Will Command Strips really hold floating shelves? For lightweight decorative items, yes. For books or heavier objects, you need proper wall anchors and screws.
How do I choose paint colors? Test paint colors by painting samples on poster board and viewing them in different lighting throughout the day.
Getting Started: Your DIY Success Strategy
Start small and build confidence. Start small and simple projects to build confidence and functionality. Pick one project that actually excites you, maybe those floating shelves you keep picturing or that tired dresser ready for a glow up.
Plan and gather everything first. Plan and research projects thoroughly using tutorials and community groups. Make a materials list, check your tools, and block out time so you are not rushing.
Embrace the learning process. Embrace mistakes and learn new skills with patience and enjoyment. Every project teaches you something new. A few happy accidents, and you have a look nobody else does.
Remember, DIY projects allow for personal touches that add to their unique style, making your space feel even more like your own. The goal is not perfection, it is building a home that feels authentically you.
That is it, you are ready to transform your space one project at a time. Start with what calls to you, take your time, and enjoy the process of making something beautiful with your own hands.


Comments
Be the first, drop a comment!