


DIY Autumn Wall Art: Transform Cardboard Tubes into Boutique-Style Decor
Difficulty: Novice
Time: 2 hours, including drying time
Cost: ~$15
Why You’ll Like This
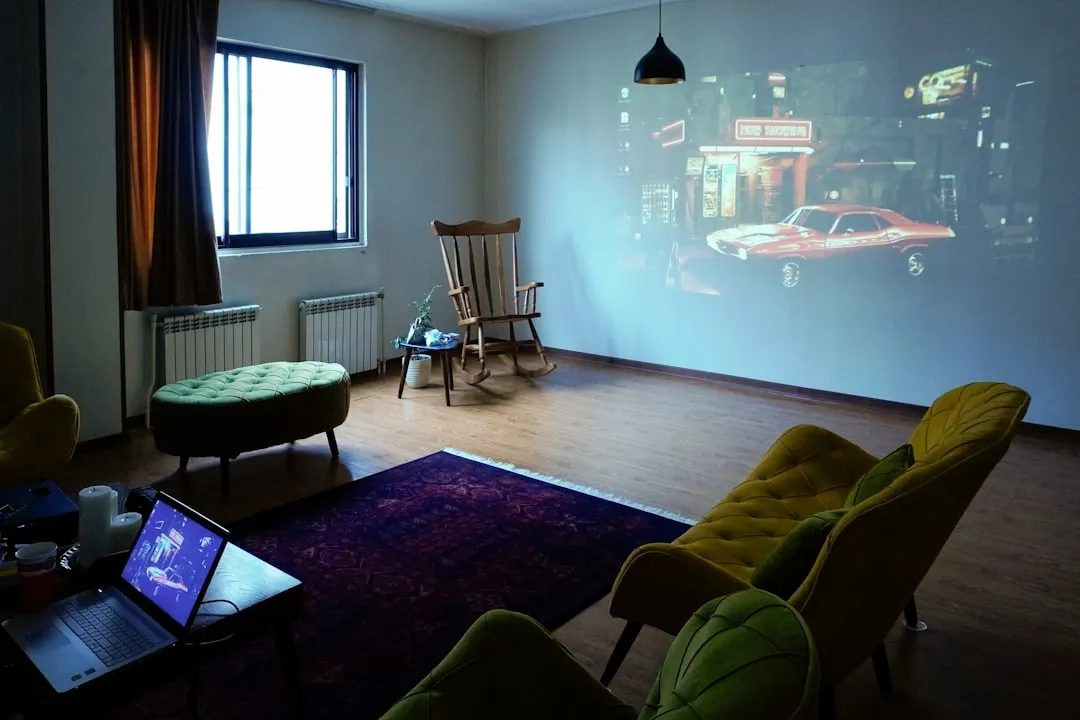
Rental living can feel plain the moment you step in, bare walls and all. Research from Ideal Home points to that letdown, the blank, not-quite-home vibe. This cardboard tube wall art hack fixes it fast, creating dimensional autumn decor that rivals boutique pieces while staying completely renter-friendly.
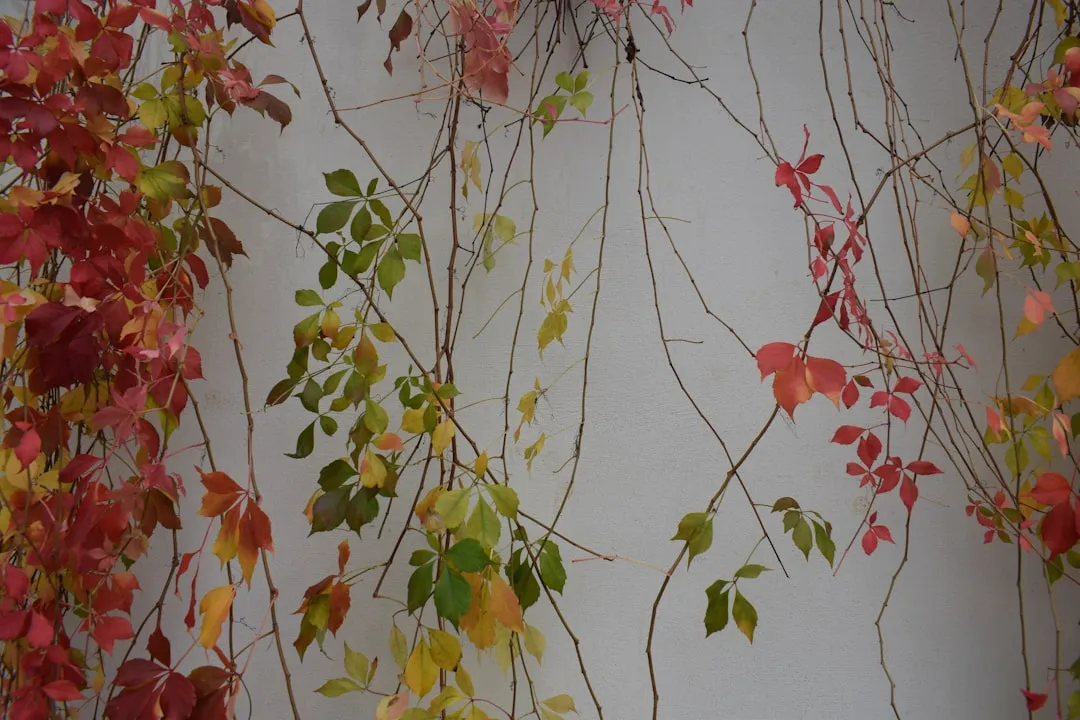
The magic is in the transformation. Following Jacqui Joseph’s autumnal wall art approach, ordinary cardboard tubes turn into elegant mini vases with a few careful cuts and paint. No permanent install, no stress. It moves with you to the next place, which makes it a smart pick when you want cozy, personal style without commitment. Crunchy leaves, warm colors, instant mood shift.
What You’ll Need
Materials
- 3 to 4 used cardboard rolls, from kitchen roll, foil, or clingfilm
- 1 old photo frame, any size you like
- Acrylic paints in autumnal colors, burnt orange, deep red, golden yellow
- Foliage or faux foliage, real autumn leaves work great too
Tools
- Kitchen scissors, or craft scissors
- Glue or hot glue gun
- 1 to 2 inch paintbrush, foam brush works as a substitute
Safety First
- Hot glue gun caution, keep away from children and avoid touching the tip, burns can happen instantly
- Paint in a well ventilated area to prevent fume buildup
- Wear old clothes or an apron to guard against splatters
- Adult supervision required if children are helping with cutting or gluing
Steps
-
Pop out the frame’s glass or plastic screen and dispose of it safely. You will not need this protective layer for a dimensional piece.
- Tip: Save the glass in a safe spot, you might want it for a future project.
-
Pop out the back of the frame and paint it an autumnal hue. Choose a warm color that complements your space, think rust, deep gold, or warm brown.
- Paint in smooth, even strokes to reduce brush marks.
- If paint looks streaky: apply thin coats and let each dry completely before adding another layer.
-
Leave it to dry for an hour while you prep your cardboard tubes.
-
Use kitchen scissors to cut your cardboard roll into smaller tubes, about 2 to 3 inches long each. Aim for 8 to 10 pieces total, depending on your frame size.
- Note: cut slowly and steadily, cardboard can tear if you rush.
-
Divide the smaller tubes into semi cylinders by cutting them lengthwise down the middle. These will be your tube vases that create the dimensional effect.
- If tubes will not hold their shape: lightly score the inside with scissors to help them curve properly.
-
Paint your cardboard tube vases another autumnal color and leave them to dry for an hour. Pick a shade that contrasts nicely with your frame backing for maximum impact.
-
Once everything is dry, glue the tube vases to the frame backing, positioned like mini wall pockets. Arrange them in a loose, organic pattern instead of rigid rows for a natural look.
- Tip: test your layout first by placing tubes on the backing and stepping back a few feet. Happy with the flow? Then glue.
- If tubes will not stay glued: rough up smooth surfaces with sandpaper before gluing for better adhesion.
-
Finally, trim your foliage to a suitable length and tuck it into the tube vases. Done. Hang it up and enjoy.
Why it works: The semi cylinder shape throws soft shadows and adds depth, so your wall art reads like a gallery piece while using materials that cost less than takeout.
Cleanup & Disposal
- Clean paintbrushes with warm, soapy water right after use to prevent hardening
- Store leftover paint in sealed containers for future touch ups or seasonal refreshes
- Dispose of paint water responsibly, do not pour it down drains, let it dry and toss with regular trash
- Let the hot glue gun cool completely before storing
Troubleshooting
Problem: Tubes will not stay glued to backing → Fix: rough up smooth surfaces with sandpaper before gluing for better adhesion
Problem: Paint looks streaky → Fix: apply thin coats and allow full dry time between layers
Problem: Foliage will not stay in tubes → Fix: trim stems to fit snugly, or add a small piece of floral foam
Variations & Upgrades
- Budget version: Use Dollar Tree frames and supplies. Budget conscious decorators report everything you need for under $10
- Spring refresh: Swap autumn leaves for fresh greenery or silk flowers
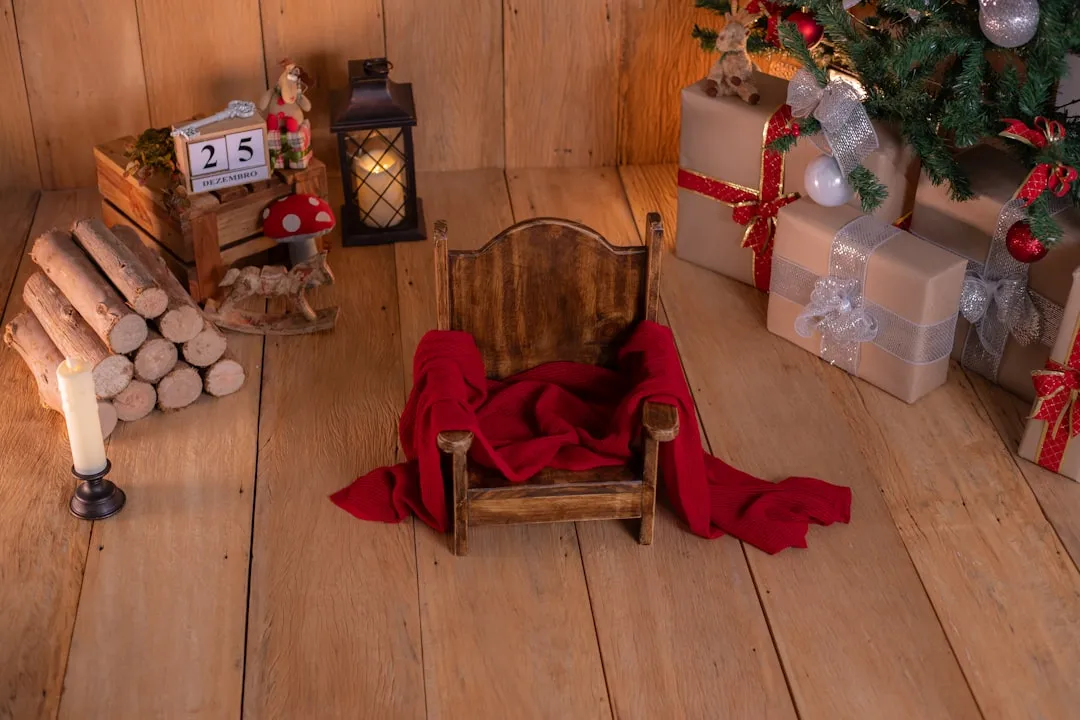
- Winter wonderland: Paint tubes in whites and silvers, add evergreen sprigs or frosted branches
- Kid friendly: Let children help with painting, use washable paints, and foliage arranging under supervision
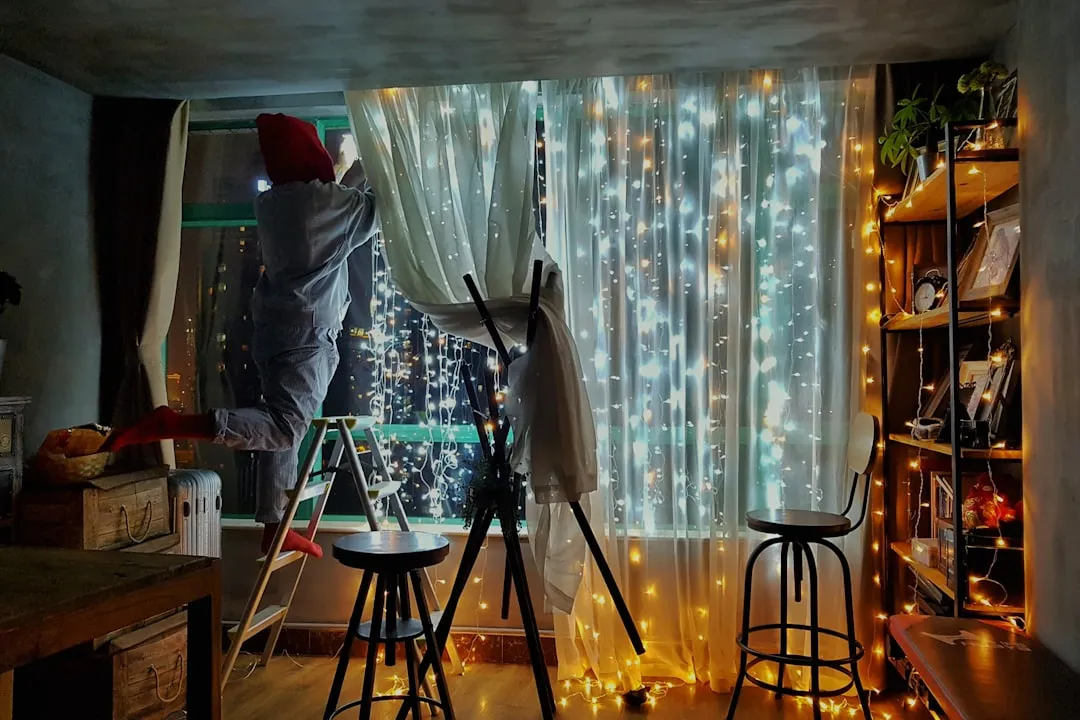
- Renter upgrade: Use removable Command strips rated for your frame’s weight for damage free hanging
FAQ
Can I use real leaves instead of faux foliage? Yes. Real autumn leaves add authentic texture, though they will dry out and may need replacing after a few weeks.
Will this work with heavier frames? Stick to lightweight frames to keep your hanging method renter friendly. If using Command strips, check weight limits carefully, most support 3 to 5 pounds safely.
How do I adapt this for other seasons? The technique works year round. Try spring pastels with fresh flowers, summer brights with tropical leaves, or winter metallics with evergreen branches.


Comments
Be the first, drop a comment!