


Got a weekend and want to transform your home's look without breaking the bank? Interior door painting is a perfect starter project with major visual payoff for the cost of a quart of paint, typically around $30 (Apartment Therapy). It takes basic tools, not a workshop full of gear, and it instantly freshens scuffed or dated doors (Caitlin Marie Design). Prep well, use the right technique, and a few hours later the door looks like it got the deluxe treatment.
Difficulty: Novice
Time: 4-6 hours (including drying time)
Cost: $30-75
Why You’ll Like This Quick Home Refresh
Door painting delivers big visual impact for minimal effort and cost. One smooth, freshly painted slab can turn a hallway from tired to tidy, the kind of upgrade you notice every time you walk past (Crocker Painters). It is beginner friendly too. A door is a contained surface, so mistakes are easy to fix, and you can practice without committing to four walls. Renters and homeowners both win here, since you are updating style, not structure.
What You’ll Need
Materials
- 1 quart interior paint (semi-gloss or satin finish recommended)
- Primer (if changing colors dramatically or painting raw wood)
- 220-grit sandpaper
- Wood filler (for repairs)
- Tack cloth or microfiber rags
- Degreasing dish soap
- Drop cloths or cardboard
Tools
- 2-2.5 inch angled brush
- 4-6 inch foam roller with frame
- Small paint tray with liners
- Paint can opener and stir stick
- Screwdriver set
- Painter's tape (if keeping hardware on)
Safety First
- Ventilation: work in a well-ventilated area, open windows and use fans when possible
- Eye protection: wear safety glasses when sanding to guard against dust
- Skin protection: use nitrile gloves when handling paint and solvents
- Test first: try paint colors in different lighting before committing to full application
Choosing the right paint and color
Neutral tones tend to play well with changing room palettes over time (Caitlin Marie Design). Classic white is timeless, sure, but many custom homes pair door and trim colors to create visual flow that makes spaces feel larger and more cohesive (Caitlin Marie Design).
For finish, semi-gloss and satin take daily wear in stride and wipe clean with a damp cloth (Crocker Painters). Semi-gloss is the most recommended sheen for doors and trim, especially in high-traffic areas like entryways and kids' rooms (Blesser House).
Tip: paint small test patches and check them in morning light, afternoon sun, and evening lamplight to see how the color shifts throughout the day (Caitlin Marie Design).
Steps
Preparation and Setup
-
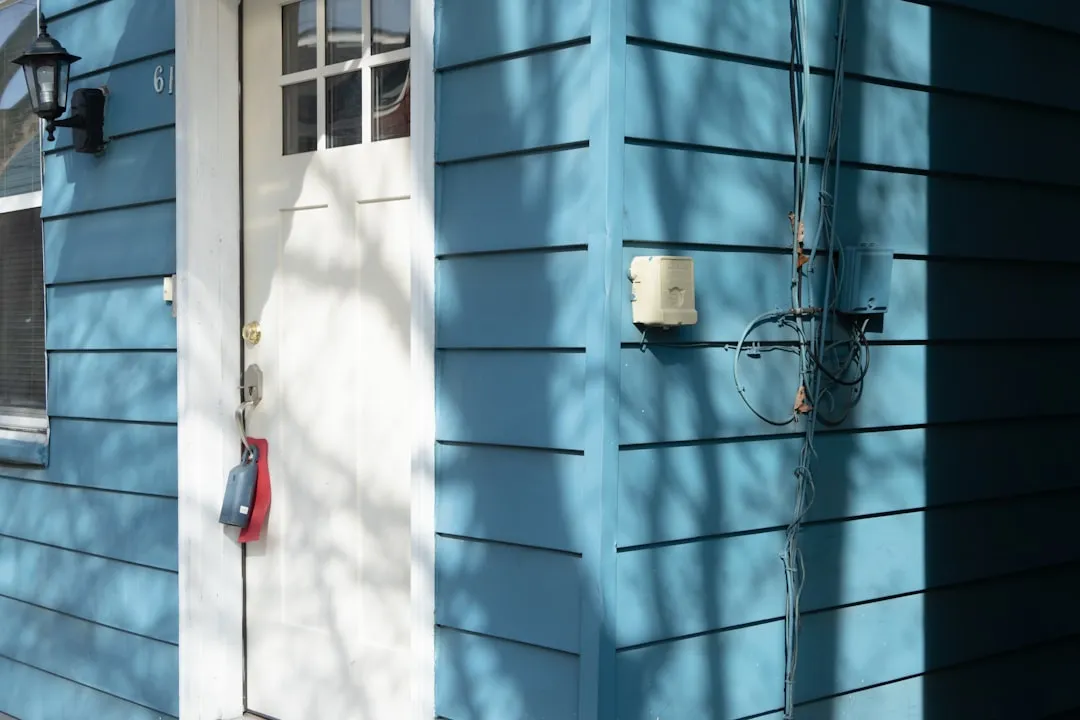
Remove hardware completely for best results. Unscrew door handles, hinges, and any decorative elements using your screwdriver set.
- Why this matters: removing hardware creates cleaner paint lines than taping and saves 20-30 minutes per door compared to careful tape work (Bob House Painting).
- Budget alternative: if removal is not possible, use high-quality painter's tape and score edges with a precision knife for clean removal (Crocker Painters).
-
Take the door down for professional results. Remove the door from its hinges and lay it flat on sawhorses or a sturdy surface (Crocker Painters).
- Apartment-friendly option: if removal is not possible, wedge the door halfway open and work vertically (Living Etc).
- Quality difference: horizontal painting helps prevent drips and lets the paint flow for a smoother finish (Crocker Painters).
-
Clean thoroughly with degreasing soap. Wash the entire surface with a mild dish soap solution, then rinse with a clean, damp cloth to remove residue (Room for Tuesday).
- Focus areas: spend extra time around handles where oils can block proper adhesion.
Surface Preparation
-
Sand lightly with 220-grit sandpaper. You are creating a smooth, slightly grippy surface for paint to bond, not stripping the finish (Caitlin Marie Design).
- Technique: sand with the wood grain to avoid scratches that telegraph through paint.
-
Fill any holes or scratches with wood filler. Let it dry completely, then sand flush with the surrounding surface (Bob House Painting).
- Repair guide: use lightweight shrink-free spackling for pinholes, wood filler for deeper gouges and screw holes.
-
Remove all dust with a tack cloth. Wipe the entire surface so the paint can adhere cleanly (Caitlin Marie Design). Any lingering dust will show up as tiny bumps.
Painting Process
-
Stir paint thoroughly before starting. Mix until the color looks uniform from top to bottom of the can (Room for Tuesday).
-
Start with detailed areas using your angled brush. Cut in around frames, panel grooves, and recessed areas first (Caitlin Marie Design).
- Loading technique: dip only the bottom third of the bristles to control drips while still covering well.
-
Roll flat surfaces with a foam roller. Hit raised panels and large flat sections in thin, even coats (Caitlin Marie Design).
- Why foam works: high-density foam rollers lay down a glass-smooth finish without texture patterns, ideal for doors (Room for Tuesday).
-
Allow complete drying between coats. Follow the manufacturer's guidance, typically 4 hours for water-based paints, before recoating (Room for Tuesday).
-
Apply a second coat for professional coverage. Two coats boost durability and even out color, especially when going from dark to light (Room for Tuesday).
Why it works: quality paints level as they dry, so minor brush marks fade and the surface looks smooth, even if it seems textured while you are working (Room for Tuesday).
Cleanup & Disposal
- Clean tools immediately. Wash brushes and rollers with warm water for water-based paints while the paint is still wet.
- Store leftover paint. Seal tightly, label with date and room, and keep in a cool, dry spot for touch-ups.
- Dispose of materials safely. Let small amounts dry on cardboard before regular trash, and check local guidelines for larger quantities.
Troubleshooting
Problem: first coat looks splotchy and uneven → Fix: this is normal, the second coat evens out coverage and color (Room for Tuesday)
Problem: visible brush marks after drying → Fix: use a foam roller on flats, keep a wet edge, and sand lightly between coats with 320-grit paper for an ultra-smooth result
Problem: paint dripping during application → Fix: use thinner coats, avoid overloading tools, and work in manageable 2-foot sections
Problem: hardware areas with paint bleeding → Fix: score along tape edges with a sharp knife before removal to prevent peeling
Variations & Upgrades
- Time-saver option: use painter's tape around hardware instead of removing it, though full removal gives the cleanest lines
- Professional upgrade: lightly sand between coats with 320-grit paper for a finish that rivals custom millwork (Living Etc)
- Design coordination: have the paint store match existing trim for a cohesive look, or choose a door color one shade darker than the trim for subtle contrast
What makes this project so rewarding
Door painting hits the sweet spot, high impact and manageable skills. You learn the fundamentals, from prep to tool control to letting coats dry, and those lessons carry into bigger projects later. Best of all, the payoff is immediate. For roughly the cost of a nice dinner out, you cover years of nicks and smudges, refresh dated colors, and get that custom, designer vibe that makes a room feel pulled together. Whether you tackle one statement door or work your way through the whole house, the result is visual continuity that quietly elevates everything around it.


Comments
Be the first, drop a comment!