Transform Paper Clutter Into Beautiful Wall Art: Turn Junk Into Designer Decor
Difficulty: Novice
Time: 45-60 minutes
Cost: $10-15
Got a pile of paper clutter taking over your space? Turn that stack into functional wall art and clear your surfaces at the same time. This approach provides an eco-friendly furnishing alternative that enables simple self-expression, and allows you to personalize your room quickly and affordably. Whether you are working with old magazines, junk mail, or leftover gift wrap, repurposing these materials into wall art helps reduce waste while adding charm and personality to any room. Glossy pages, neon flyers, crinkled wrapping paper, all welcome.
Why You’ll Like This
Paper crafting solves two problems at once, you clear clutter and create custom decor that fits your style. Paper comes in many different colors, textures, and patterns, enabling customized decor while staying remarkably adaptable. Paper can be cut, rolled, looped, linked, punched, and layered into a wide range of designs. Think color blocking, ombré grids, even tiny mosaics.
The budget angle is real. Using paper to create DIY wall art projects is inexpensive, and stacks of cardstock are cheap, allowing you to fill up large frames or blank walls for mere dollars. Many DIY wall art projects require minimal artistic skill but deliver impressive results. Beginner friendly, big payoff.
What You’ll Need
Materials
- Old magazines, junk mail, or gift wrap
- Paper or cardstock, same size as your frame
- Picture frame, 8x10 in or 12x16 in work well
- Paper glue or glue stick
- Water-based, non-toxic adhesives (recommended)
Tools
- Sharp scissors or paper cutter
- Ruler
- Pencil
- Craft knife (optional for precise cuts)
- Electronic cutting machines like Cricut or Silhouette make paper wall art projects easier, but effects can be created using scissors, paper cutters, or punches
Safety First
- Use sharp scissors carefully, dull blades can slip and cause injury
- Keep craft knives pointed away from your body when cutting
- Work in a well ventilated area when using adhesives
- Adult supervision required when children use sharp cutting tools
Steps
-
Plan your grid layout. Measure your frame’s interior dimensions. Mark out a grid on paper the same size as your frame. Two inch, 5 cm, squares work for most frames.
-
Cut your paper scraps. Cut magazine pages, junk mail, or gift wrap into uniform squares that match your grid size. Aim for 50 to 75 squares so you have options.
- Tip: Sort squares by color family as you cut, arranging later becomes easier.
-
Arrange without gluing first. Start arranging your cut pieces on the paper grid without sticking anything down first, just play around with the pieces until you’re happy with the arrangement. Look for color balance across the whole piece, not just in one corner.
-
Take a reference photo. When the arrangement clicks, take a quick phone photo. If pieces shift, you have a map.
-
Glue systematically. Remove squares one at a time, starting from one corner. Apply glue to the back of each square and place it back in position. Slow and steady helps you keep the pattern intact.
-
Frame and display. When all squares are attached and the glue has dried, about 15 minutes, put your artwork in the frame and secure the backing.
Why it works: A grid creates natural harmony, and the variety of paper sources adds texture and interest without advanced design skills.
Cleanup & Disposal
- Save leftover paper scraps in a labeled container for future projects, and choose water-based, non-toxic adhesives
- Wipe down the work surface with a damp cloth to remove any adhesive residue
Troubleshooting
Problem: Squares do not stick properly → Fix: Use a touch more glue and press firmly for 10 seconds
Problem: Colors look too random → Fix: Swap a few pieces to create visual paths of similar colors across the grid
Problem: Grid lines show through → Fix: Use slightly larger squares that overlap grid lines by 1/8 inch, 3 mm
Variations & Upgrades
- Layered collage approach: Grab some paper scraps and play around with composition before you glue down your first layer, then keep stacking, tearing, and cutting for more texture
- Theme-based collections: Use only travel brochures for wanderlust art, or food magazines for kitchen decor
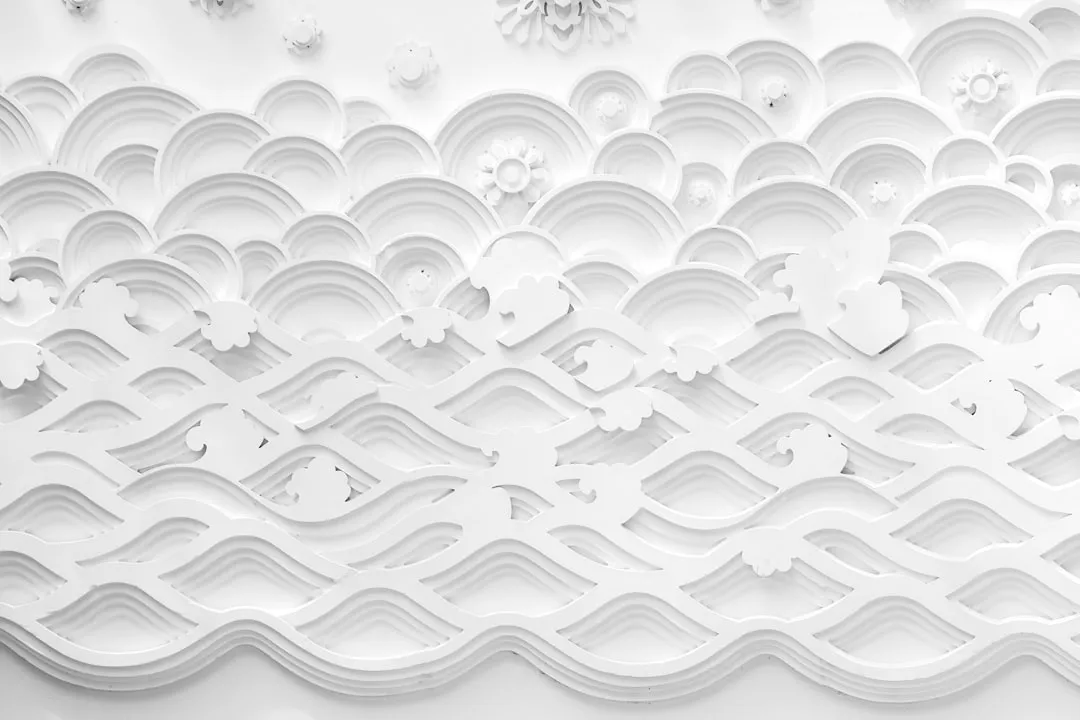
- 3D elements: Layered paper decorations can be used to create shapes of flowers, lanterns, or mandalas
Smart Placement Tips
Paper wall hangings should be avoided in direct sunlight and humid areas to prevent fading and damage. Pick indirect light for longevity. Art placed in direct sunlight may fade, while pieces in shadowy corners might need additional lighting to be appreciated properly.
For gallery walls, arrange pieces on the floor first and take photos of different layouts. Maintain 2-3 inches between frames and use a consistent element like frames, colors, or theme to tie everything together.
FAQ
Can I use newspaper instead of magazines? Yes, newspapers have a timeless aesthetic that can give your space a vintage, industrial feel. The black and white creates striking contrast.
Will this work for renters? Absolutely. Since you are framing the art, there is no direct wall contact. Use damage-free hanging strips if needed.
How long will this last? Properly placed paper art can last years. Sustainability can be achieved by repurposing old books, magazines, catalogs, or brown kraft paper for eco-chic decorations, and you can easily swap out the paper for seasonal updates.
Custom artwork does not have to bust your decorating budget. The beauty of making your own wall art lies in its flexibility, you can create exactly what you want in the perfect colors, dimensions, and style for your space. Plus, involving children in upcycling projects teaches creativity and environmental responsibility, which makes this ideal for family crafting time.
Start with one frame, then expand from there. Your paper clutter just became your home’s most affordable design solution.





Comments
Be the first, drop a comment!