


Transform Your Christmas Decor: 15+ Year-Round DIY Projects That Save Space & Money
Difficulty: Moderate
Time: 1-3 hours per project
Cost: $0-25 (using existing decorations)
Why You'll Like This (Quick Intro)
That box of Christmas decorations taking up precious storage space? Time to put those baubles, garlands, and lights to work all year long. These DIY transformations turn seasonal items into functional home decor, saving you money while reducing clutter. Most projects use basic craft supplies you probably have on hand, and many are completely reversible if you want your Christmas look back.
What You'll Need
Basic Materials (varies by project)
- Existing Christmas ornaments, garlands, lights
- Spray paint (various colors)
- Hot glue gun and glue sticks
- Wire cutters
- Craft scissors
- Clear protective spray
- Mason jars or glass containers
- Ribbon in neutral colors
- Small picture frames
- Battery-operated LED lights
Tools
- Hot glue gun (low-temp for delicate ornaments)
- Wire cutters
- Craft knife
- Measuring tape
- Small paintbrush for detail work
Safety First
- Eye protection when cutting wire or using spray paint
- Ventilate area when using spray paint or adhesives
- Adult supervision required for hot glue gun use
- Test paint on one ornament first to check adhesion
- Unplug lights before cutting or modifying electrical components
Transform Ornaments Into Year-Round Decor
Project 1: Glass Ball Terrariums
-
Remove ornament caps carefully by twisting counterclockwise. Save caps in a small bowl.
- Tip: Use needle-nose pliers if caps are stuck, gripping gently to avoid cracking glass.
-
Clean inside thoroughly with cotton swab and rubbing alcohol. Let dry completely (10 minutes).
-
Add your scene: Small succulents, air plants, or seasonal elements like mini pumpkins, spring flowers, or beach sand.
- Why it works: The sealed environment creates a mini greenhouse effect for plants.
Project 2: Elegant Table Lamps
-
Choose large, stable ornaments (4+ inches diameter). Remove caps and check for cracks.
-
Drill small hole in bottom using glass/tile bit. Go slow with light pressure to prevent shattering.
- Safety: Wear eye protection and work over towel to catch glass particles.
-
Thread battery LED string through hole. Arrange lights inside evenly.
-
Spray paint caps in metallic finish if desired. Reattach when completely dry (2+ hours).
Project 3: Modern Wall Art Clusters
-
Select 9-15 ornaments in graduating sizes. Remove all caps and hardware.
-
Spray paint in ombré pattern: Start with darkest shade, work to lightest using same color family.
- Tip: Use cardboard box as spray booth to contain overspray.
-
Mount on canvas or directly to wall using small adhesive hooks rated for ornament weight.
Repurpose Garlands for Every Season
Project 4: Natural Wreath Base
-
Strip artificial garland down to wire base using wire cutters. Save removed elements for other projects.
-
Wrap with burlap or jute starting from inner circle, overlapping by half-width.
-
Hot glue seasonal elements: Silk flowers for spring, small gourds for fall, shells for summer.
- Note: This base can be redecorated multiple times throughout the year.
Project 5: Elegant Table Runners
-
Measure your table length and add 12 inches (30 cm) for proper overhang.
-
Lay garland straight and remove excess length with wire cutters.
-
Spray paint if changing color and let cure 24 hours before handling.
-
Add seasonal accents with removable clips: flowers, ribbons, or themed decorations.
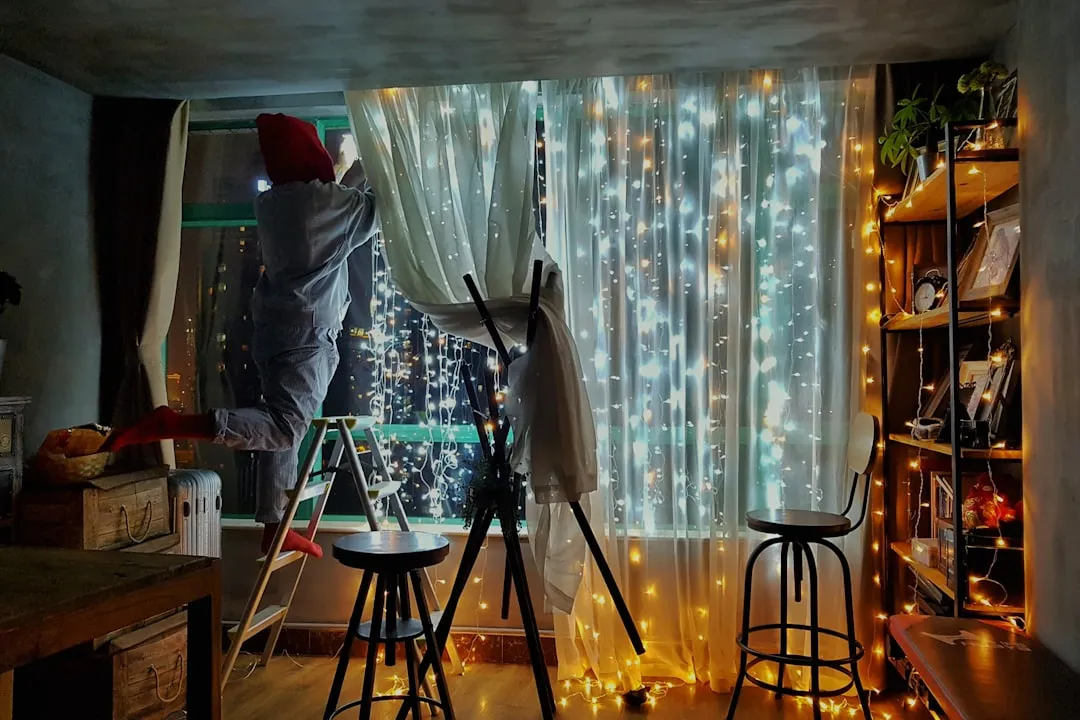
Christmas Lights Year-Round Magic
Project 6: Cozy Reading Nook
-
Test all light strands before installation. Discard any with damaged cords.
-
Install small adhesive hooks around reading area at 18-inch (45 cm) intervals.
- Renter-friendly: Use removable Command hooks rated for light weight.
-
Drape lights in gentle swags between hooks. Avoid tight stretching that stresses wires.
-
Add timer switch for automatic on/off scheduling.
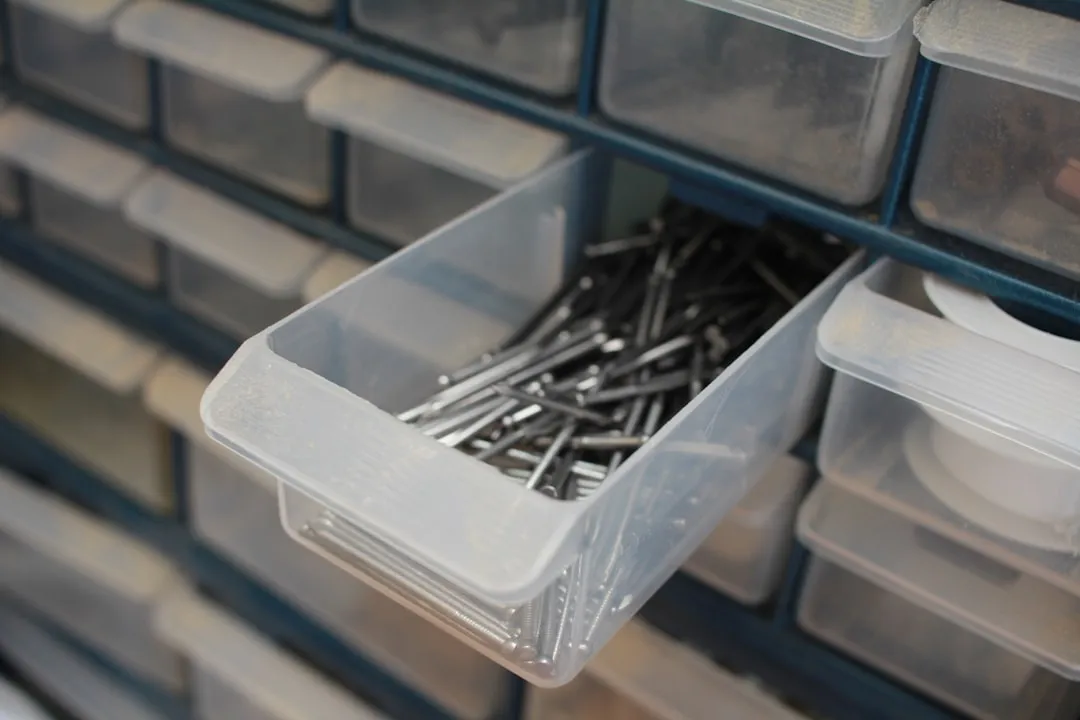
Project 7: Mason Jar Luminaries
-
Punch small holes in mason jar lids using hammer and nail. Work on scrap wood to protect surface.
-
Thread battery LED strand through holes, leaving battery pack outside jar.
-
Fill jars seasonally: Sand and shells for summer, colored leaves for fall, pinecones for winter.
-
Group in odd numbers (3, 5, 7) for most pleasing visual arrangement.
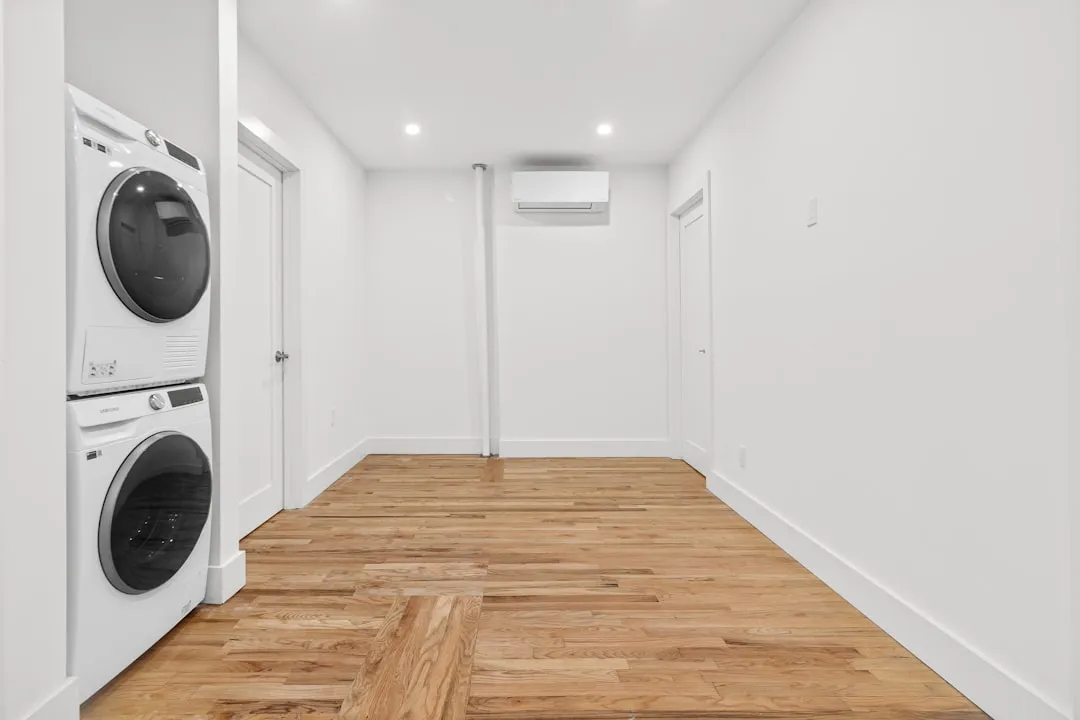
Storage Solutions That Double as Decor
Project 8: Decorative Storage Ottomans
-
Choose sturdy Christmas storage boxes with tight-fitting lids.
-
Wrap in neutral fabric using spray adhesive around edges. Pull tight to avoid wrinkles.
-
Add furniture pads to bottom to protect floors and prevent sliding.
-
Top with cushion cut to size for extra seating.
- Tip: Use high-density foam for comfortable, supportive seating.
Advanced Transformations
Project 9: Chandelier Makeover
-
Disassemble ornament chandelier by removing individual ornaments. Keep wire frame intact.
-
Paint frame in desired finish using spray paint designed for metal. Apply thin, even coats.
-
Replace ornaments seasonally: Glass globes for modern look, mason jars for farmhouse style, paper lanterns for bohemian vibe.
-
Rewire if needed following electrical safety codes or consult electrician for permanent installation.
Project 10: Garden Trellis System
-
Straighten garland wire and cut into 6-foot (1.8m) sections using wire cutters.
-
Create grid pattern by weaving sections together with zip ties at intersections.
-
Spray paint with rust-resistant coating for outdoor durability.
-
Install with garden stakes or attach to fence posts for climbing plant support.
Cleanup & Disposal
- Save paint cans sealed for touch-ups within 2 years
- Dispose of aerosol cans at household hazardous waste collection
- Clean glue gun while warm using aluminum foil to remove residue
- Store modified decorations in labeled bins by season for easy rotation
Troubleshooting
Problem: Paint won't stick to glass ornaments → Fix: Clean with alcohol first, use primer designed for glass surfaces
Problem: LED lights dim quickly → Fix: Check battery connections, replace with higher-quality batteries
Problem: Hot glue leaves strings → Fix: Use low-temp gun, work faster, trim strings with craft knife while still warm
Problem: Wire garland loses shape → Fix: Insert floral wire along length for extra support
Variations & Upgrades
Budget Option: Focus on spray paint transformations only - costs under $10 per project
Renter-Friendly: Use only removable adhesives and avoid permanent mounting solutions
Kid-Safe Versions: Replace glass ornaments with plastic alternatives, use battery lights only
Luxury Upgrade: Invest in smart LED lights with app control for automated seasonal color changes
FAQ
Can I paint over glittery ornaments? Yes, but use bonding primer first and expect some texture to show through the final coat.
Will battery LED lights last all year? Quality LEDs last 50,000+ hours. Replace batteries every 3-4 months with continuous use.
Are these modifications reversible? Paint and permanent adhesives are not reversible, but mechanical changes (removing caps, rewiring) can often be undone.
What's the weight limit for wall-mounted ornament displays? Standard adhesive hooks support 1-3 pounds each. For heavier displays, use wall anchors rated for the total weight.
Why it works: Christmas decorations are designed to be eye-catching and durable. By changing colors and contexts, you maintain their visual impact while adapting them to different seasons and purposes. The key is working with the existing structure rather than fighting against the original design.


Comments
Be the first, drop a comment!